
Choose the best website builder for your business
The Cheat Sheet that shows you exactly which website builder to choose based on your needs with bonus on how to get free custom domain, free email hosting, and more.
Get the FREE cheat sheet

The Cheat Sheet that shows you exactly which website builder to choose based on your needs with bonus on how to get free custom domain, free email hosting, and more.
Get the FREE cheat sheet
 By David Nge | Last Updated: December 16, 2024
My work is supported by affiliate commissions. Learn More
In this quick tutorial we'll go over how to create various types of links in Carrd.
More specifically:
All these features are available on Carrd's free plan.
But, if you ever need to create more than a few Carrd websites in the future, then the paid plan offers incredible value.
Now onto the tutorial.
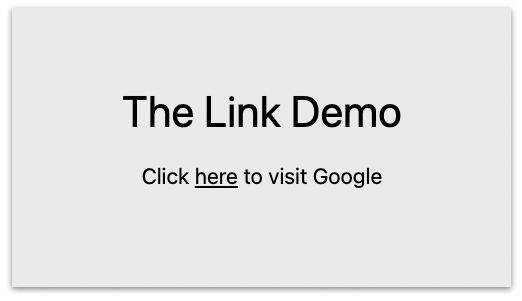
Use this method if you want to link a certain text in a paragraph.
For example:
In the text element, simply wrap the text that you want to link in a square bracket followed by the URL in parentheses.
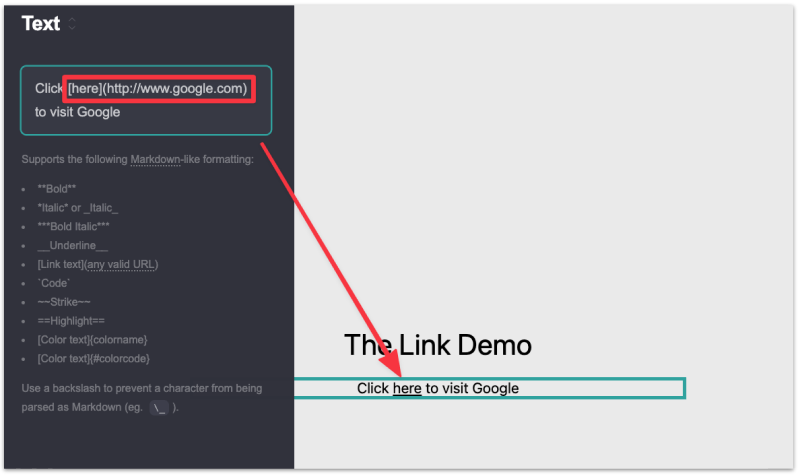
Wrap "here" in a square bracket then add the URL in parentheses.
The end result:
```[here](https://www.google.com)```A few things to note:
Adding a link element allows you to customize the outlook of that link (e.g. size, color, alignment, spacing, shadow, etc).
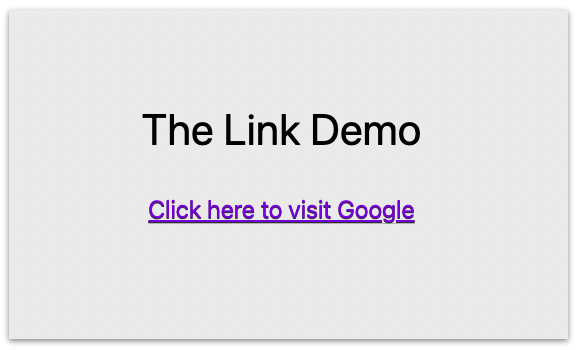
The only downside is you can only link the entire paragraph, which means you can't select a certain text to link.
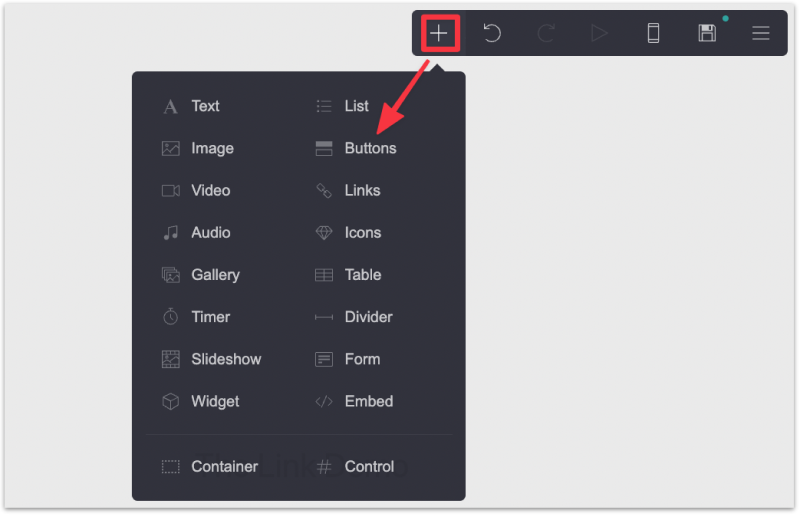
To start, click the + button on the top right and select Links.
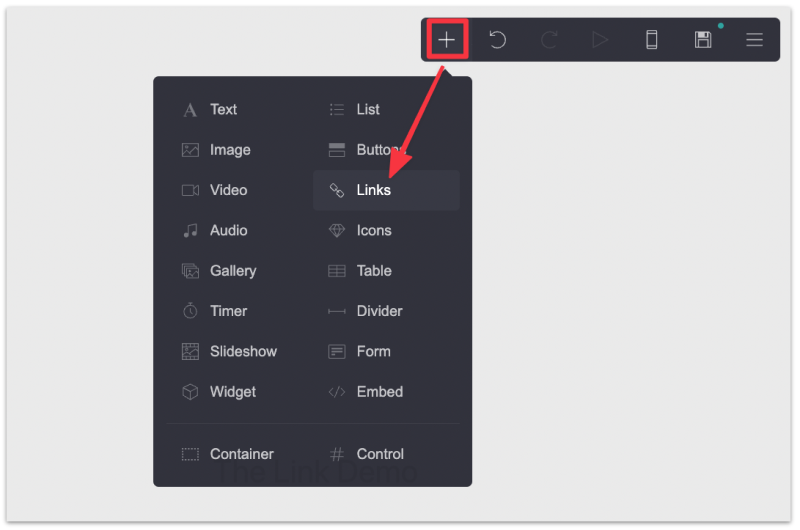
You can then customize the color, size, alignment, etc in the Appearance tab.
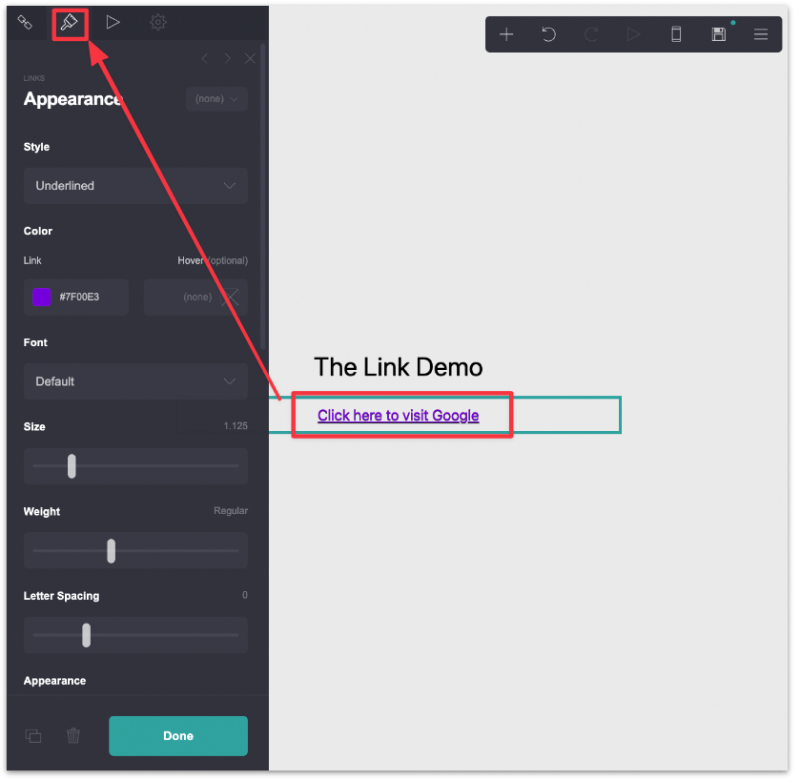
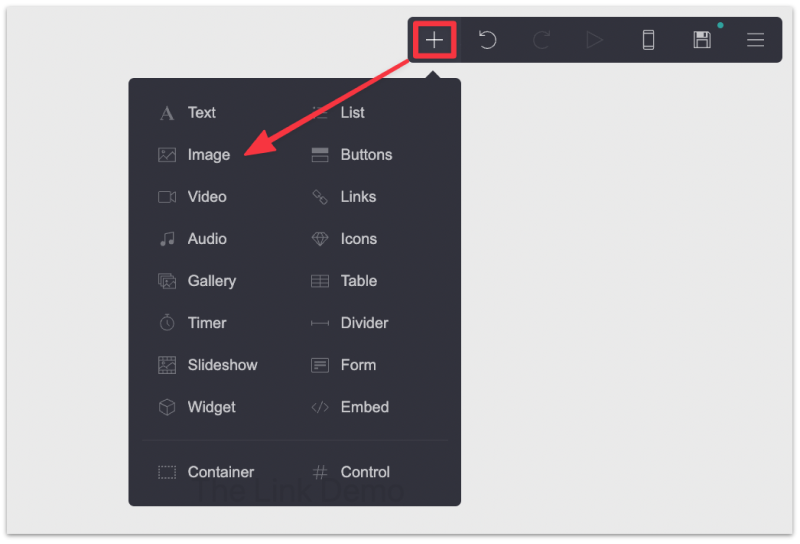
Image links are pretty common on all websites. Here's how to link an image in Carrd.
First create an Image element:
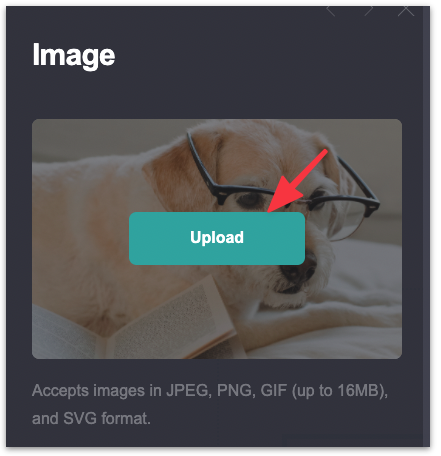
Upload an image of your choice.
Then add the URL in the Link URL field:
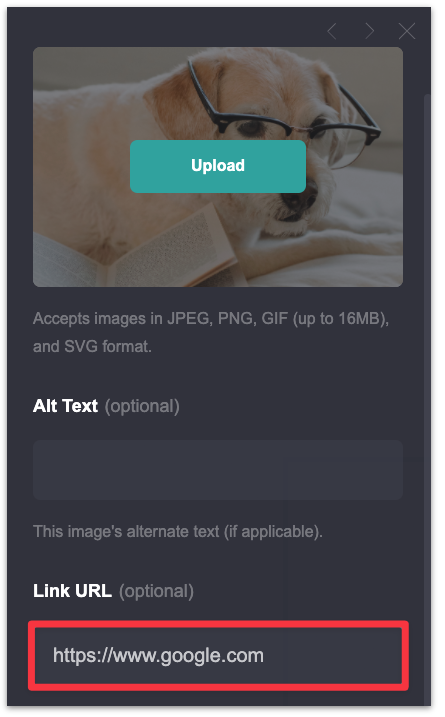
If you'd like the image link to open in a new tab then add @blank at the end of the URL.
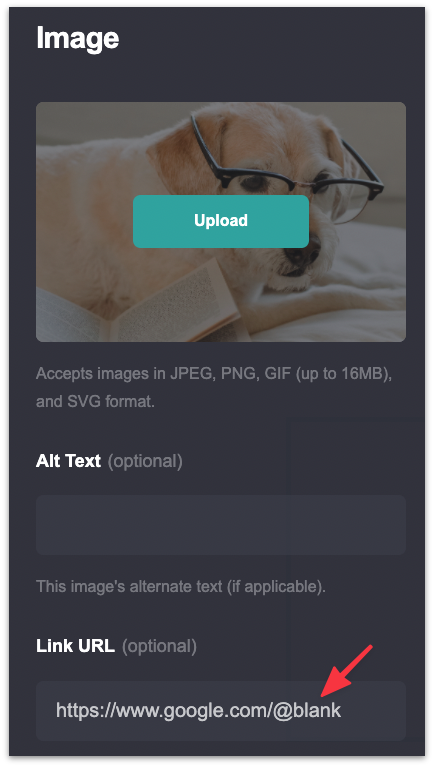
You can also add various types of links based on the use case:
Button links are useful for directing a call to action for user to visit a website, fill in a form, download a PDF, etc. Here's how to do it.
First add the Buttons element.
Update the button label.
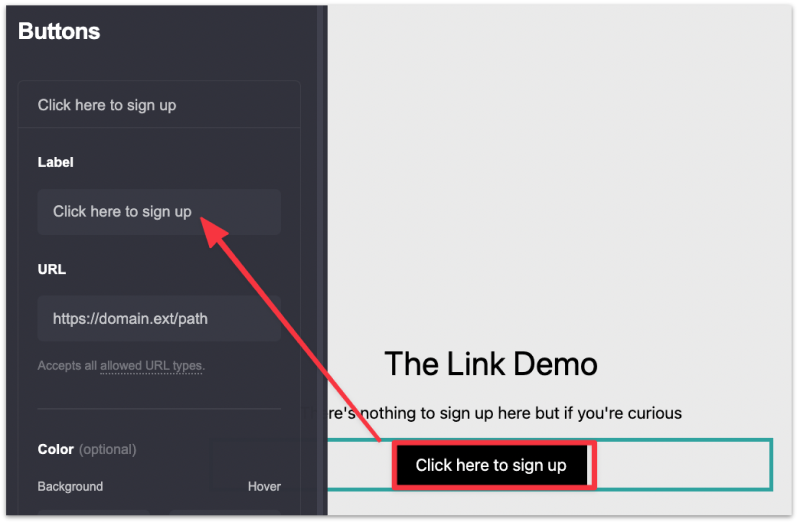
Then add the URL in the URL field.
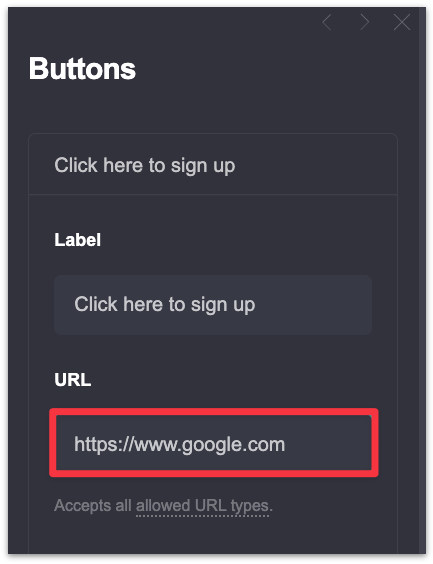
Just like an image link you can add various types of URLs:
Head over to the appearance tab to customize your button link.
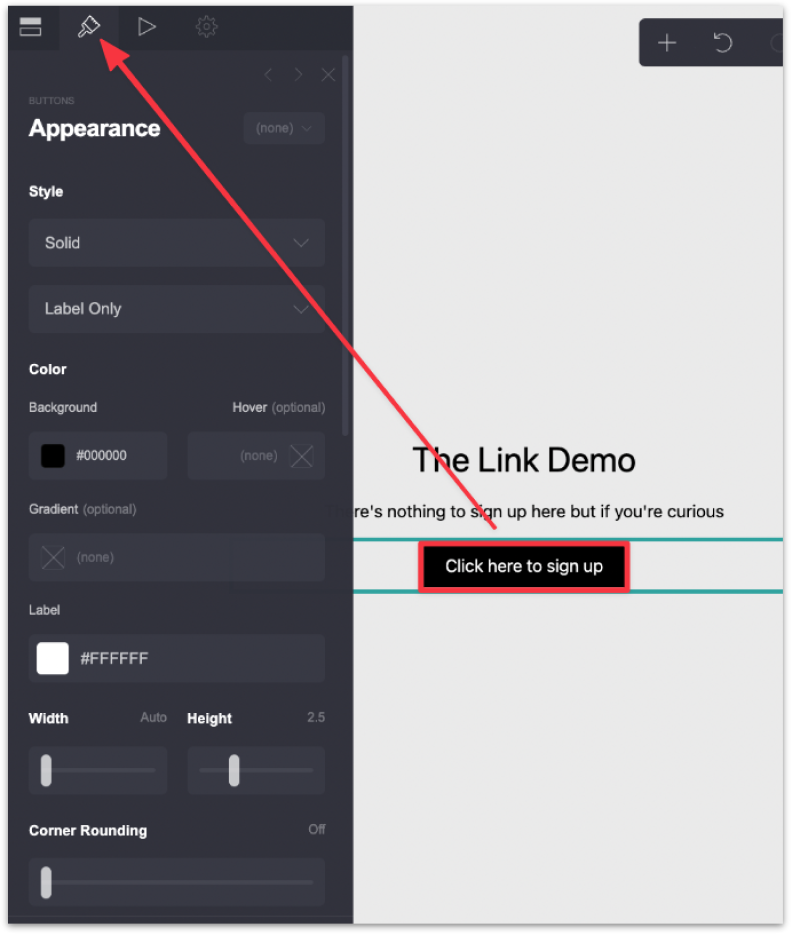
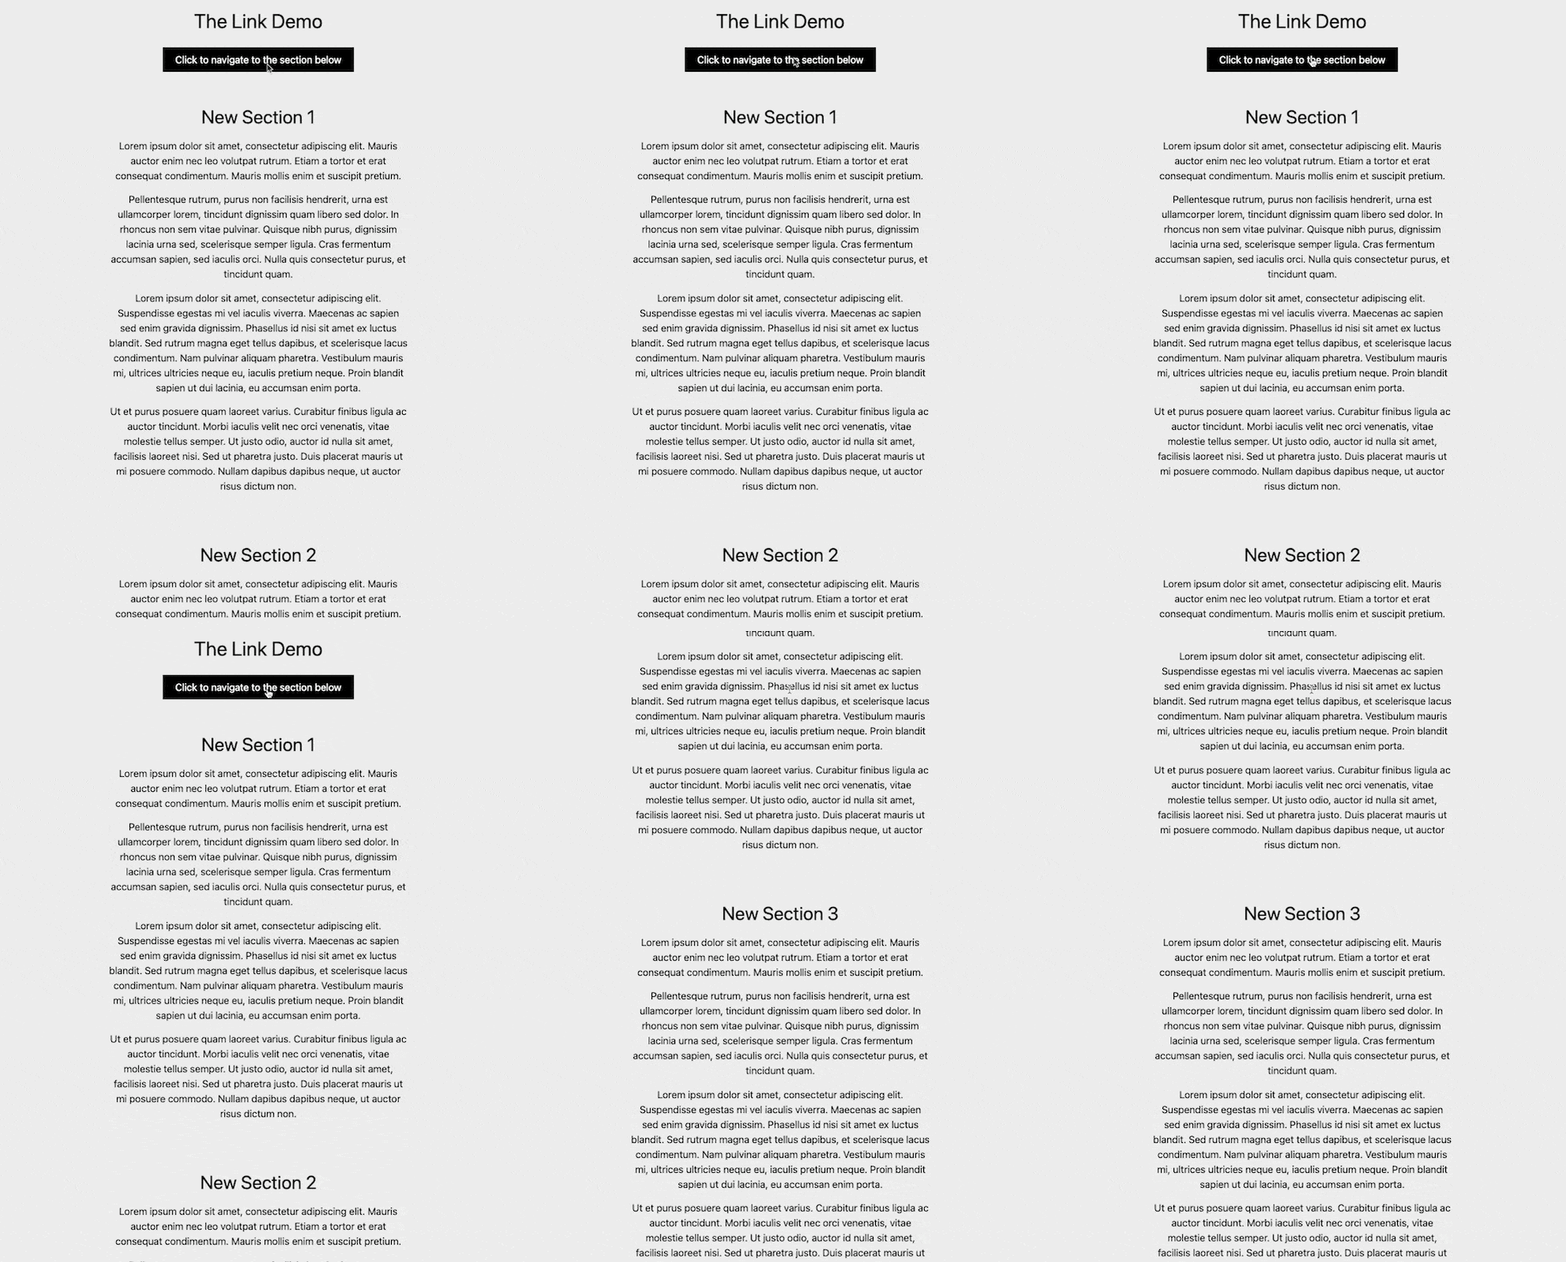
Carrd allows you to easily add sections to a page AND create links to jump or scroll to that section.
This is also called anchor links — a link that navigates user to a different section of the same page.
Continuing from the previous button link example. Update the button label and create a new Container with some text below it.
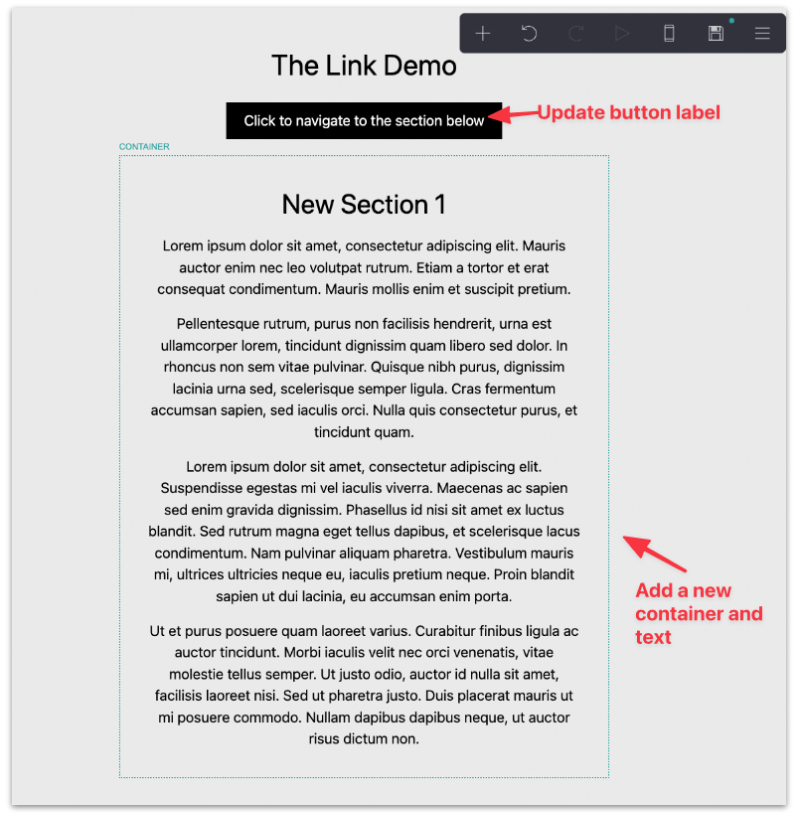
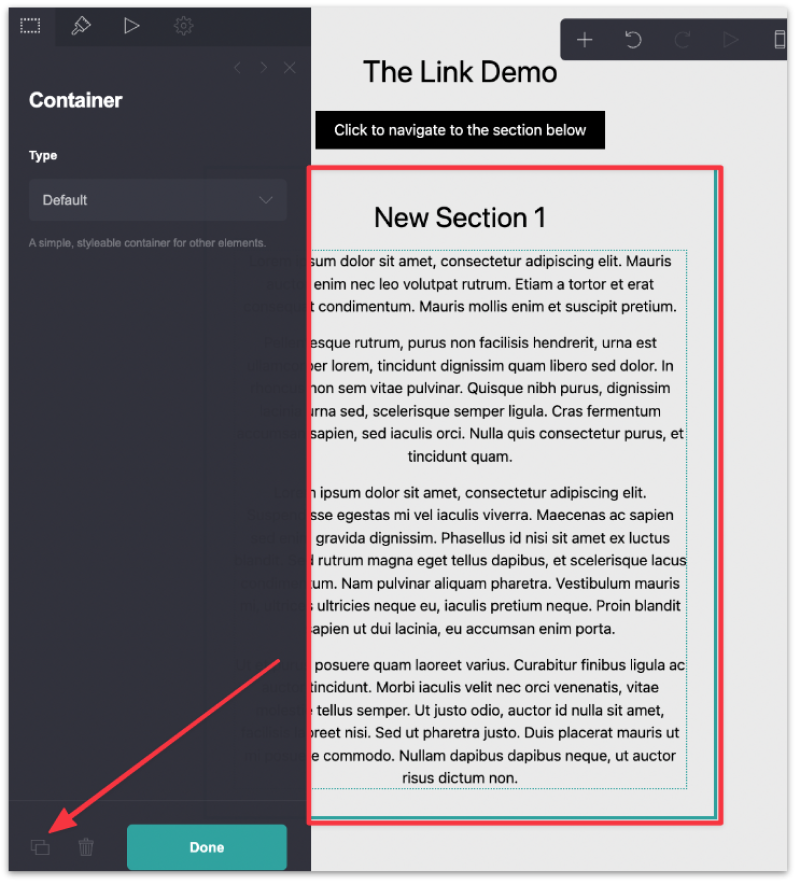
Then make a few duplicates of this section.
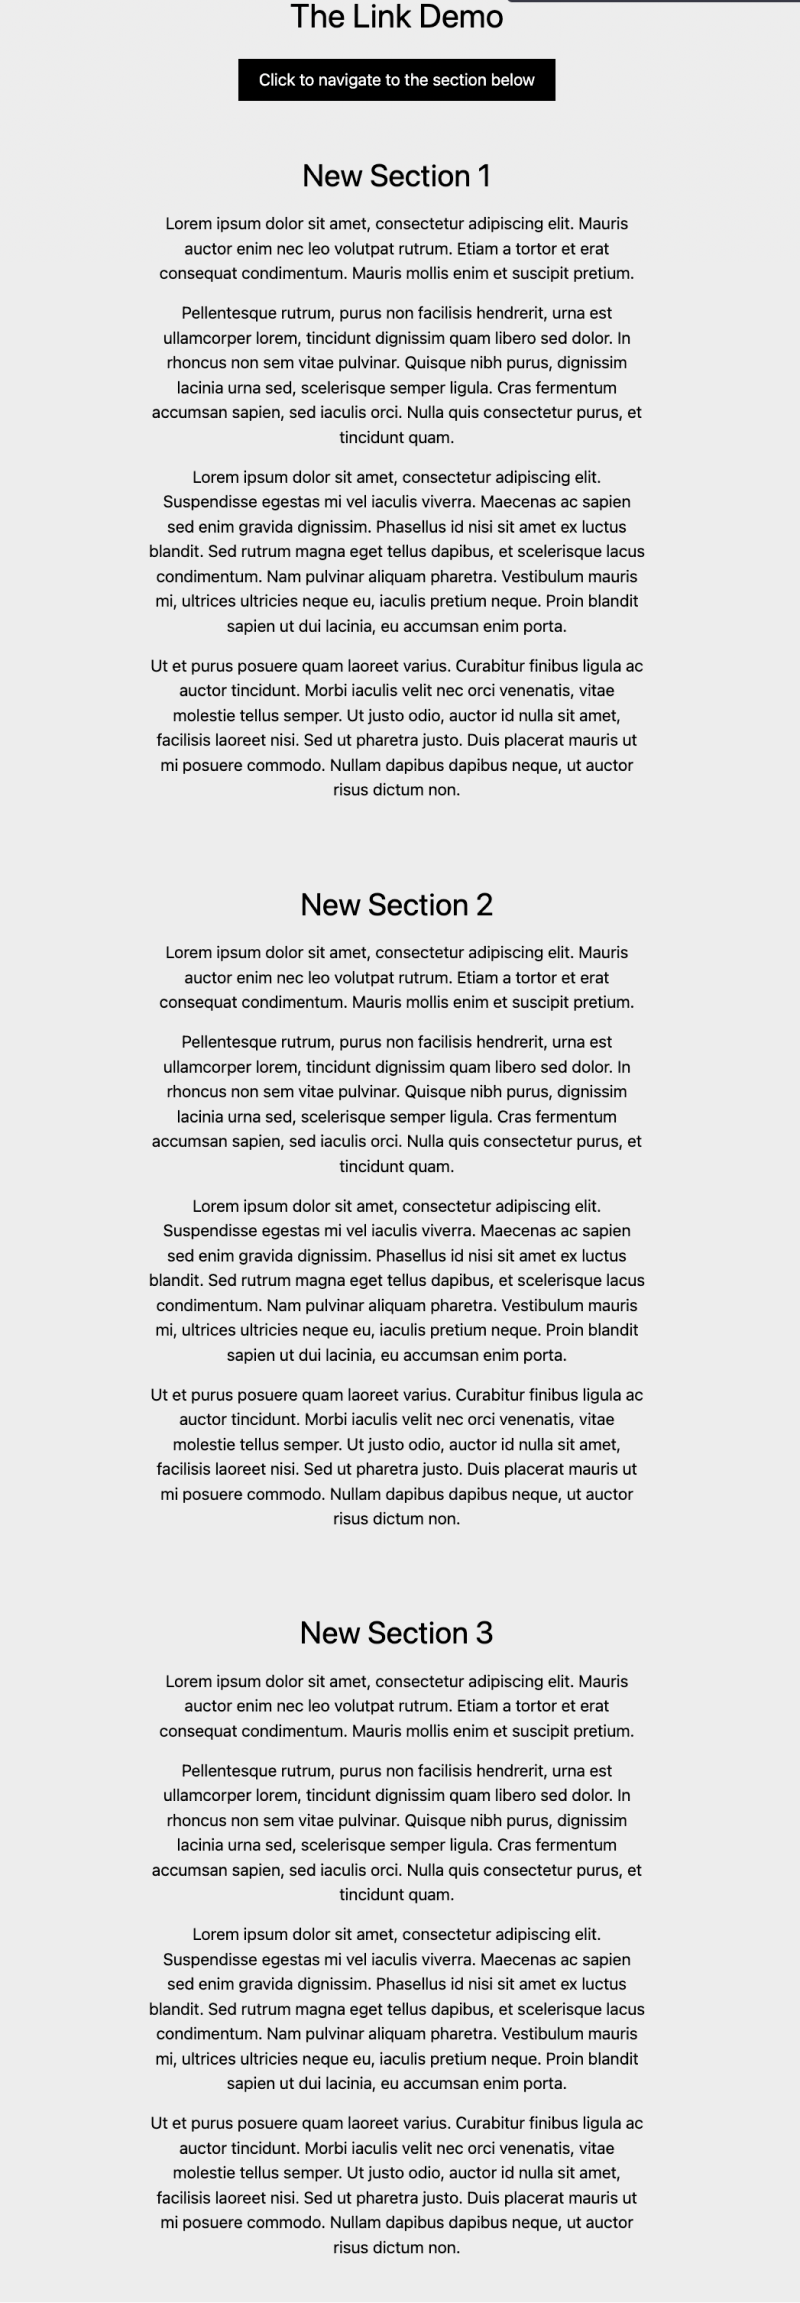
Your page should look something like this:
Then add a new Control element and change its type to Scroll Point. Scroll point is a feature in Carrd that allows user to link to a specific part of a site.
So instead of linking to an external URL, you can link to different section of the same page.
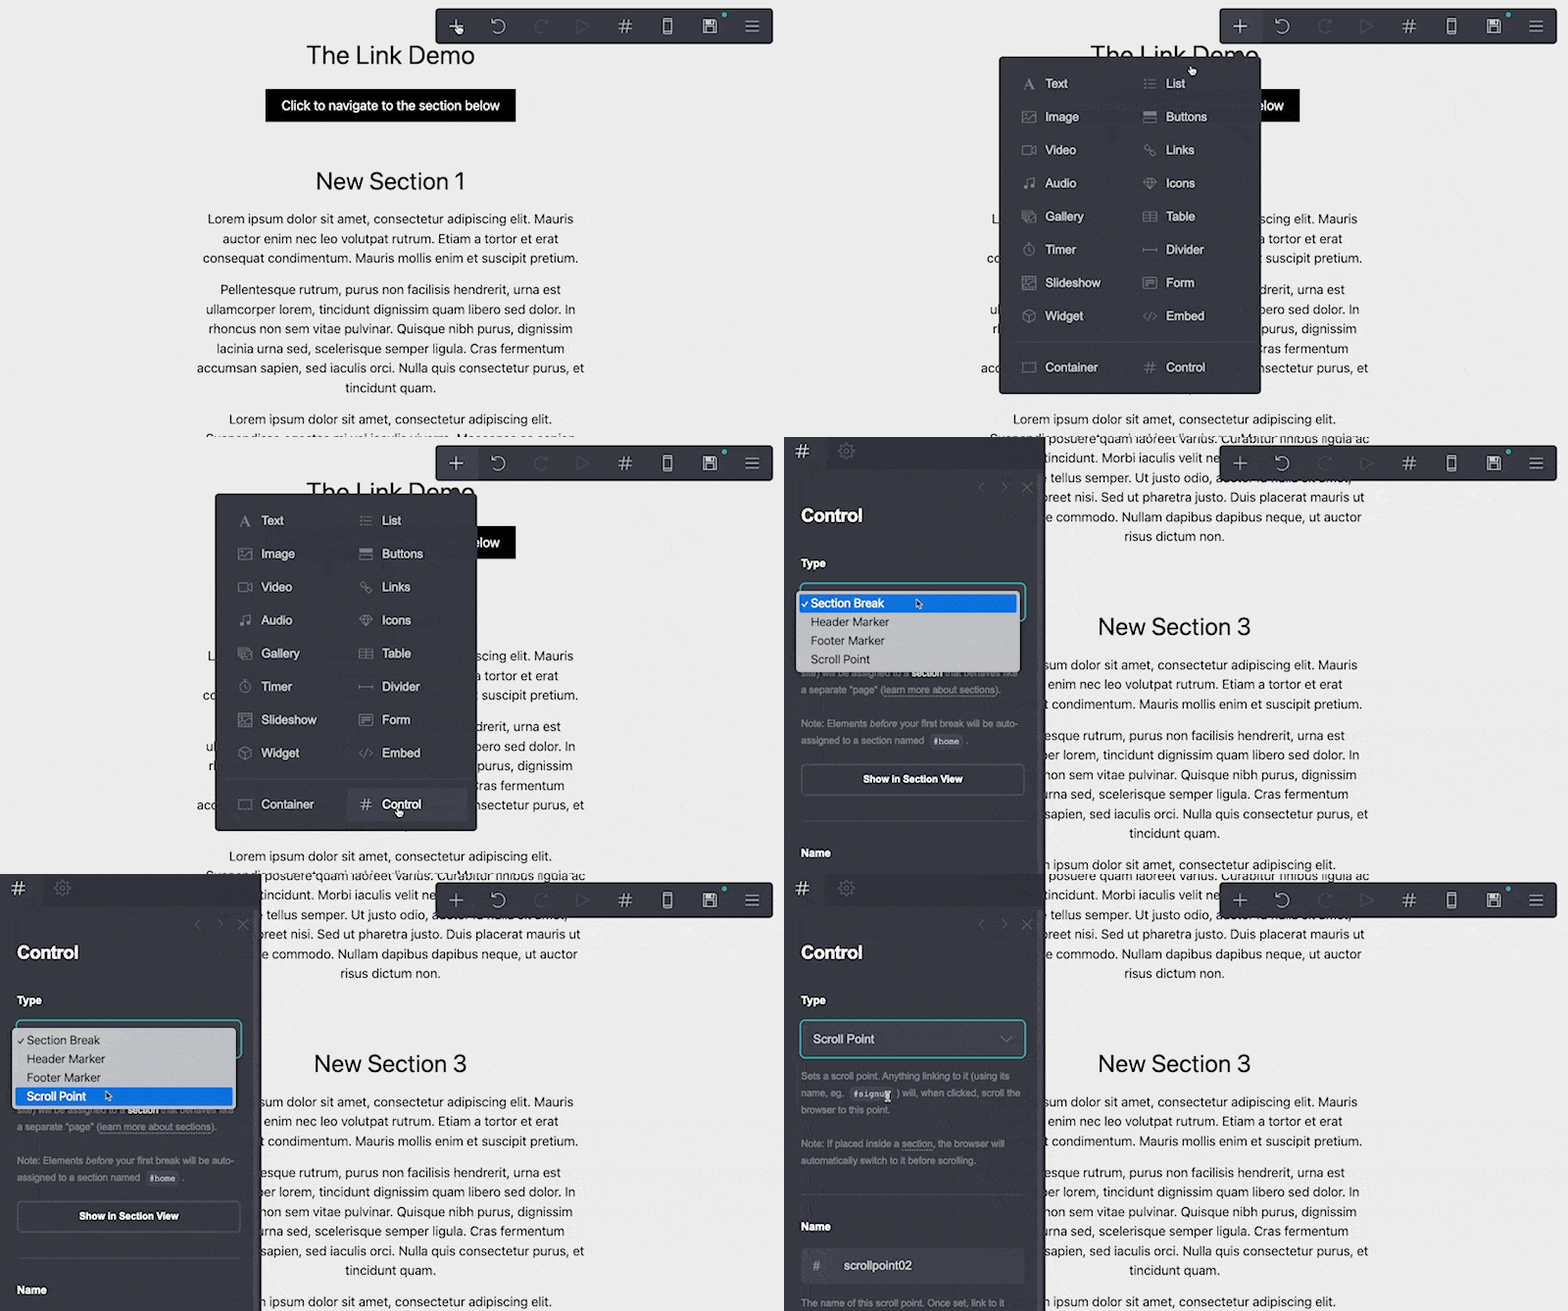
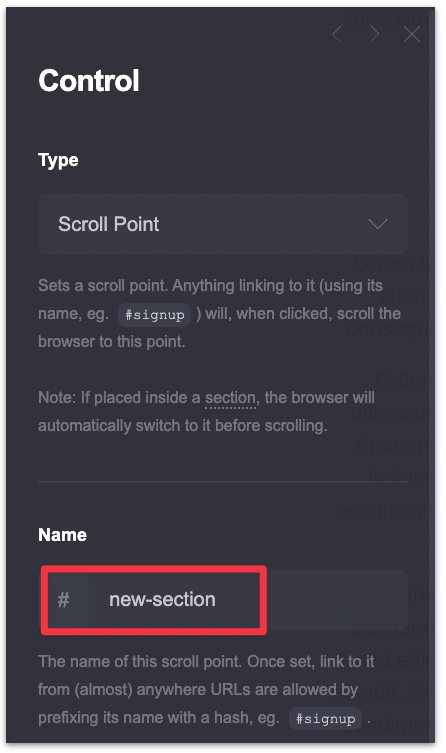
Update the name of the scroll point. It can be whatever you like as long as it's made up of lowercase letters, numbers, and hyphens (e.g. signup, new-page, newform2).
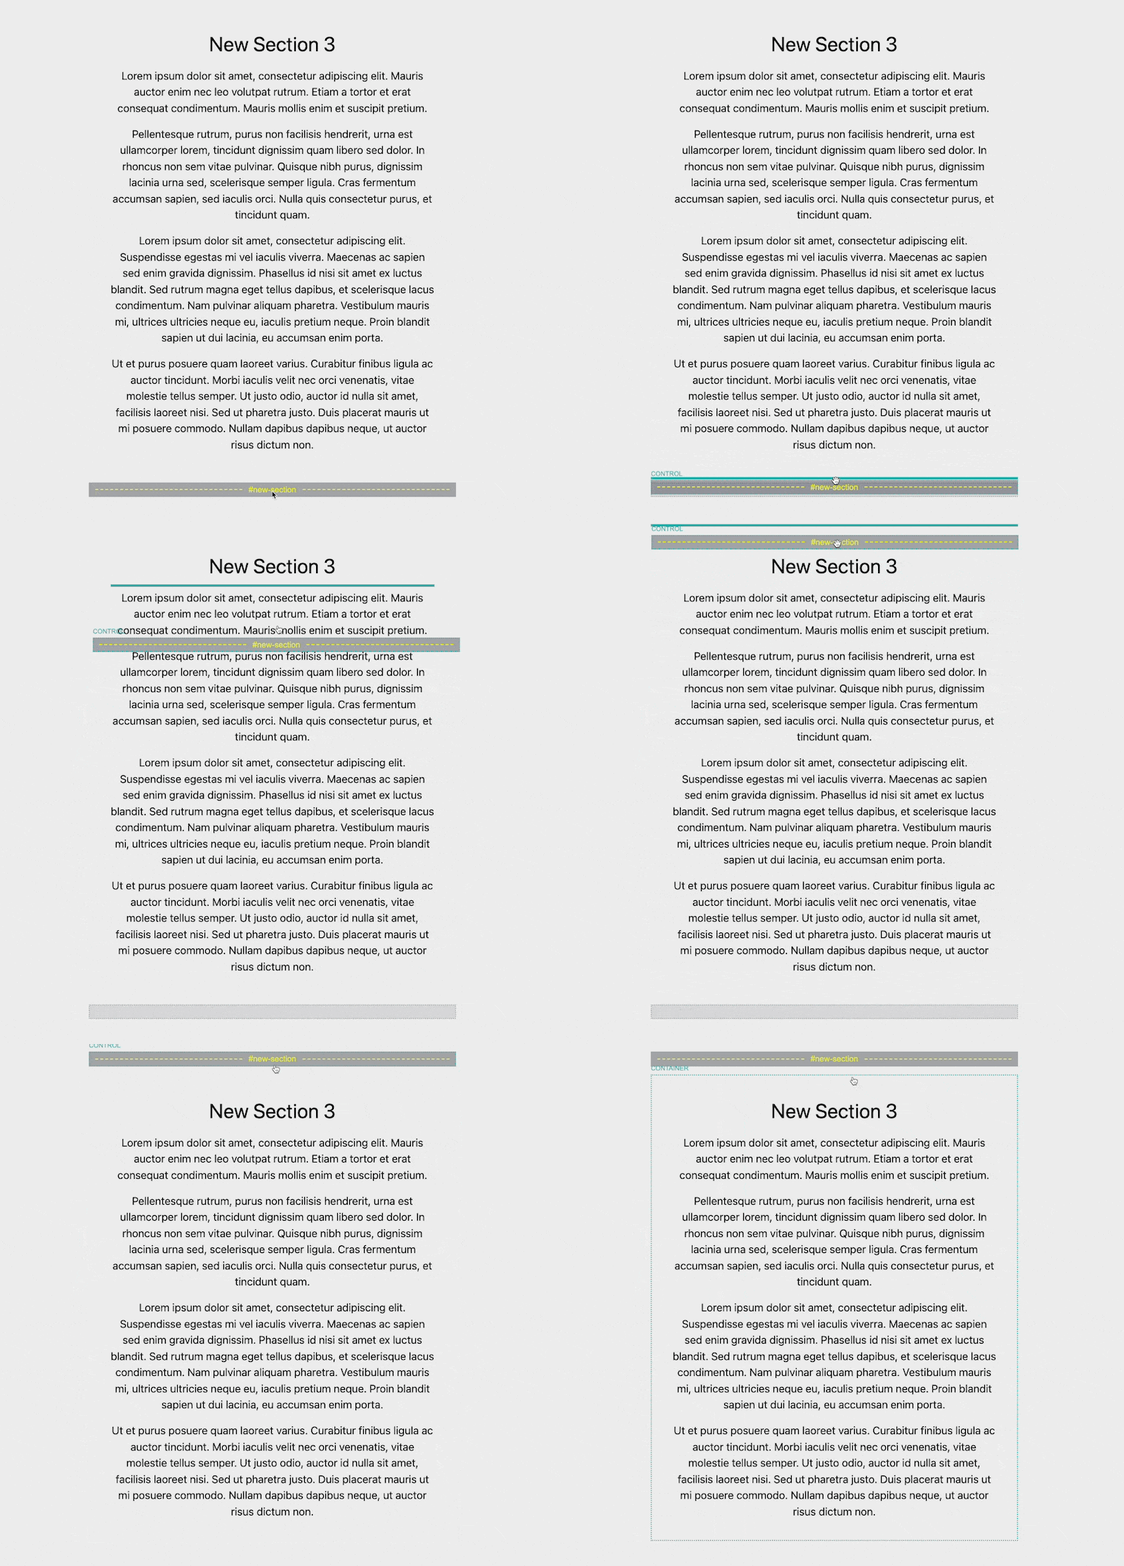
Drag the #new-section scroll point to the section where you the user to scroll to.
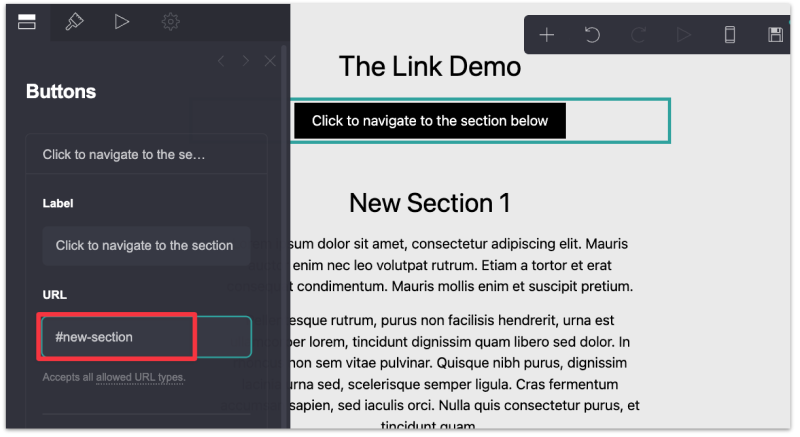
Lastly, update the URL of the button with the name of the scroll point preceded by a hash (#). This is so that when the user click on this button, they will be redirected to this section (#new-section) of the page.
And that's it!
Publish the website and you can now navigate to different section of the page. Optionally add more scroll points and call to action button/links as you see it.
If you're feeling adventurous, check out this tutorial on how to make a Carrd website with multiple pages.