How to build a vacation rental website
 By David Nge | Last Updated: January 04, 2026
My work is supported by affiliate commissions. Learn More
 By David Nge | Last Updated: January 04, 2026
My work is supported by affiliate commissions. Learn More
In this tutorial, I’ll walk you through the step-by-step process of setting up a direct booking website for your short-term vacation rental.
I won’t spend too much time on the advantages of having your own site, aside from the obvious savings of ~15% compared to platforms like Airbnb and Booking.com.
Instead, we’ll focus on choosing the simplest website builder and channel manager for your rentals, then setting up your website, payments, and enabling direct bookings.
Here's the final website if you want to check out.
Let's get started.
The first step is to pick property management software with a built-in website builder that lets you handle direct bookings.
TL;DR
We're going to use Lodgify. It's the simplest approach to set up our website. It lets you:
Technically, you can use a general website builder like Wix (that's free), but it's far more complicated to set up.
For example, you need to manually add your listing, setting up individual pages takes more work, and you need to sign up for a channel manager anyway to manage bookings across different platforms.
When I did my research for short-term rental websites, Lodgify was the most popular website builder property managers use afterall.
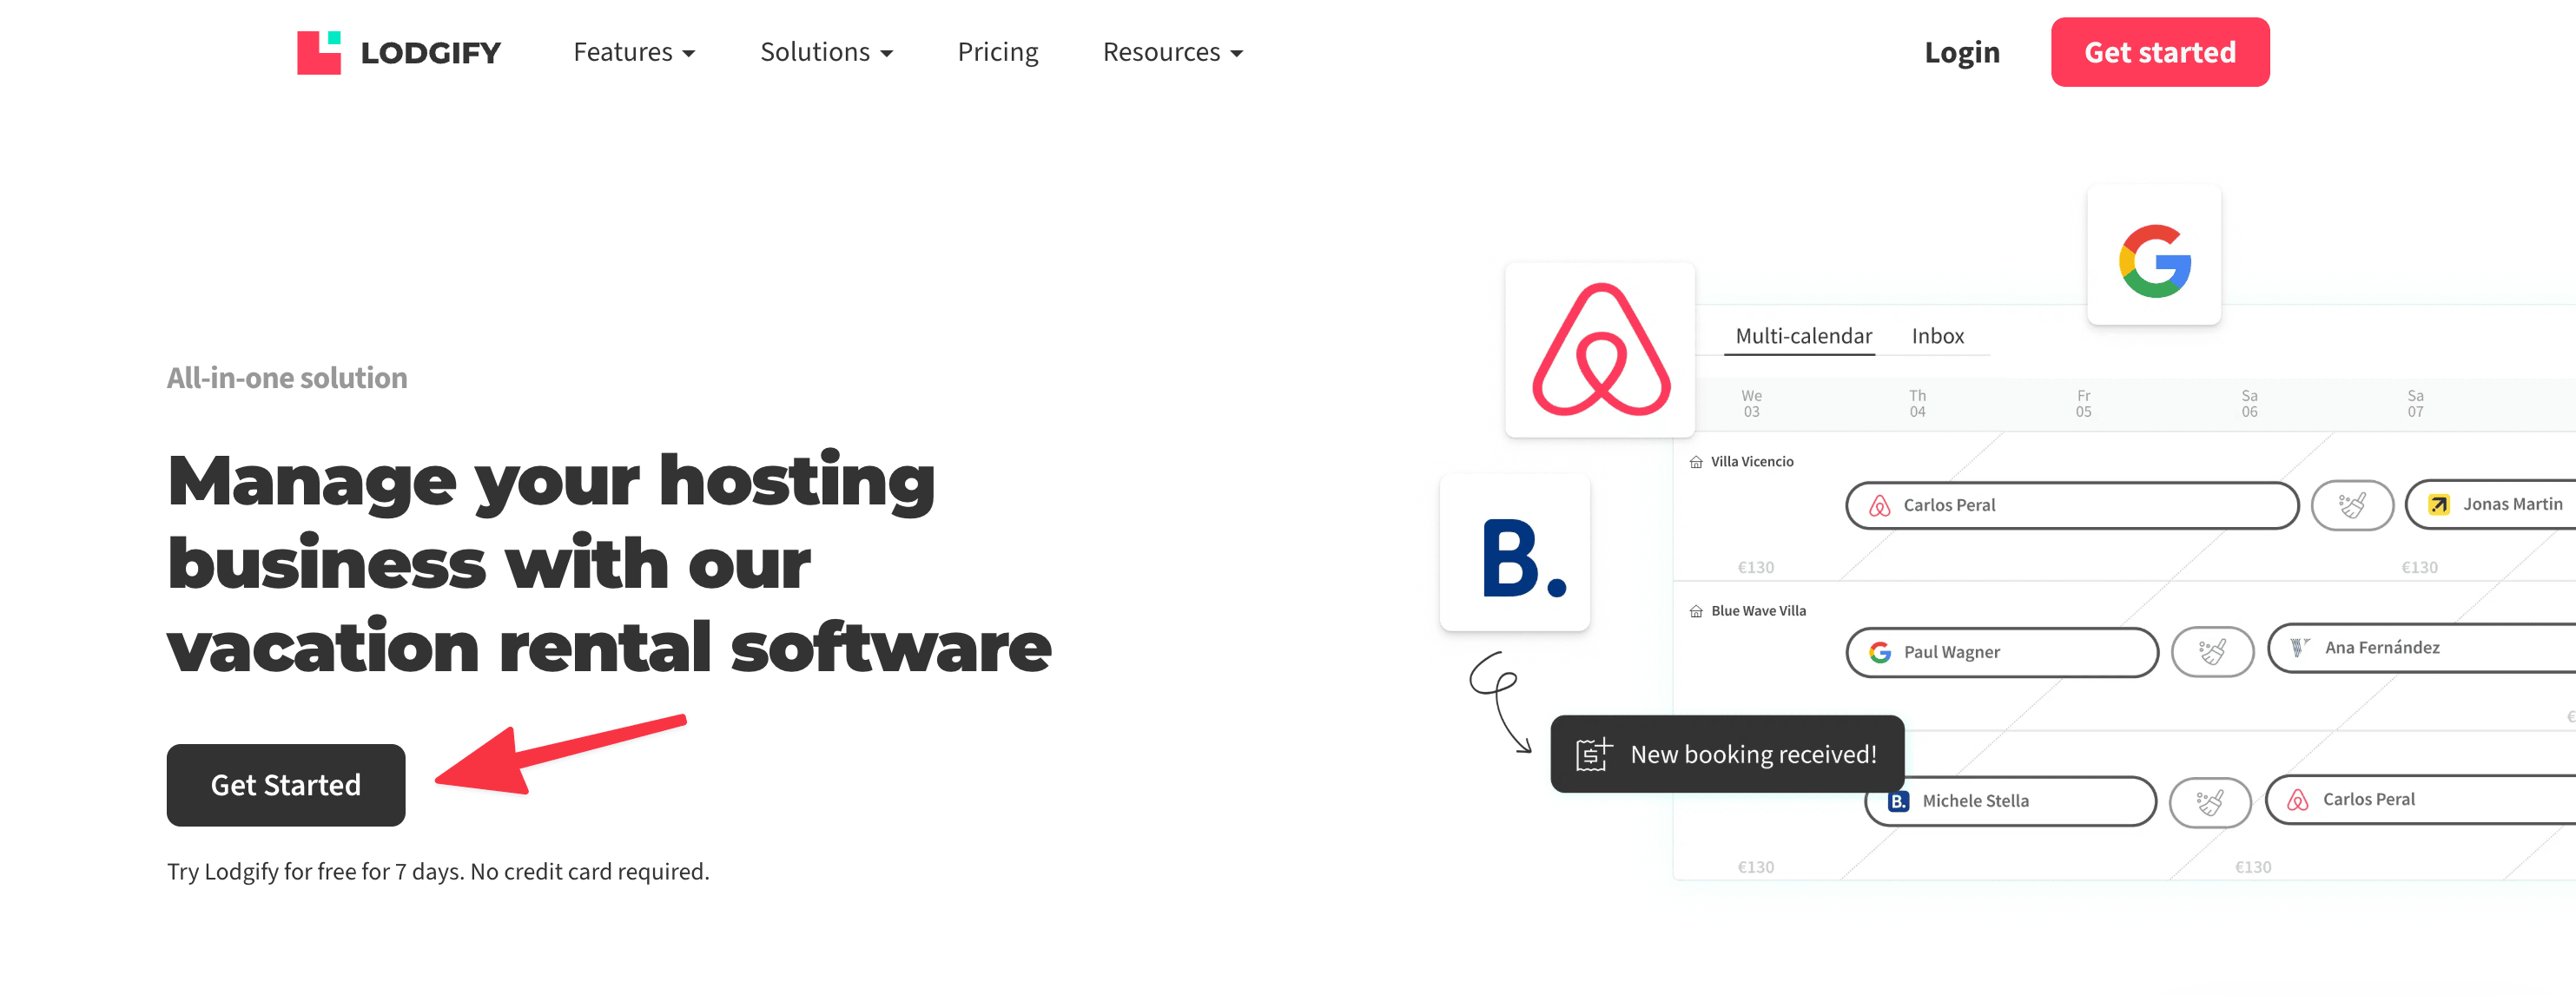
Head over to Lodgify's home page and click Get Started ➝ Sign up for a free trial.
Note: The trial lasts for 7 days, you can take this time to test out Lodgify features and determine if it's right for you. No credit card required at this point.
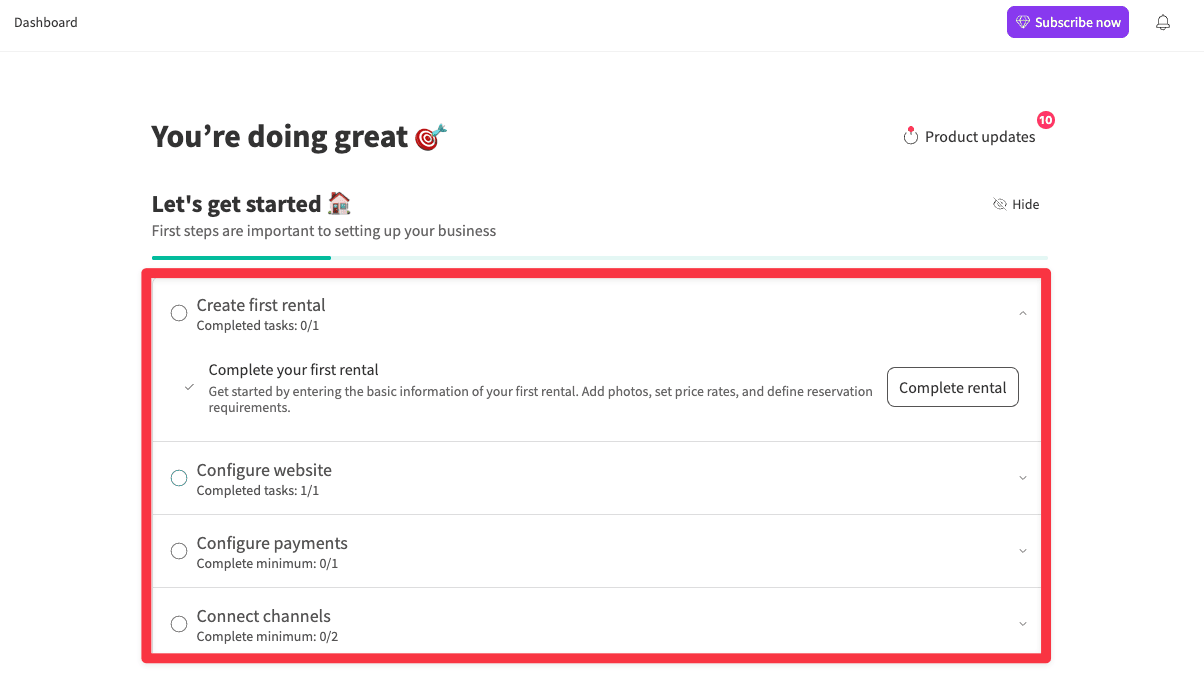
Once you finish Lodgify's initial onboarding, you'll arrive at their dashboard, where they will list the steps to properly set up your Lodgify account.
There are two ways to create property listings in Lodgify:
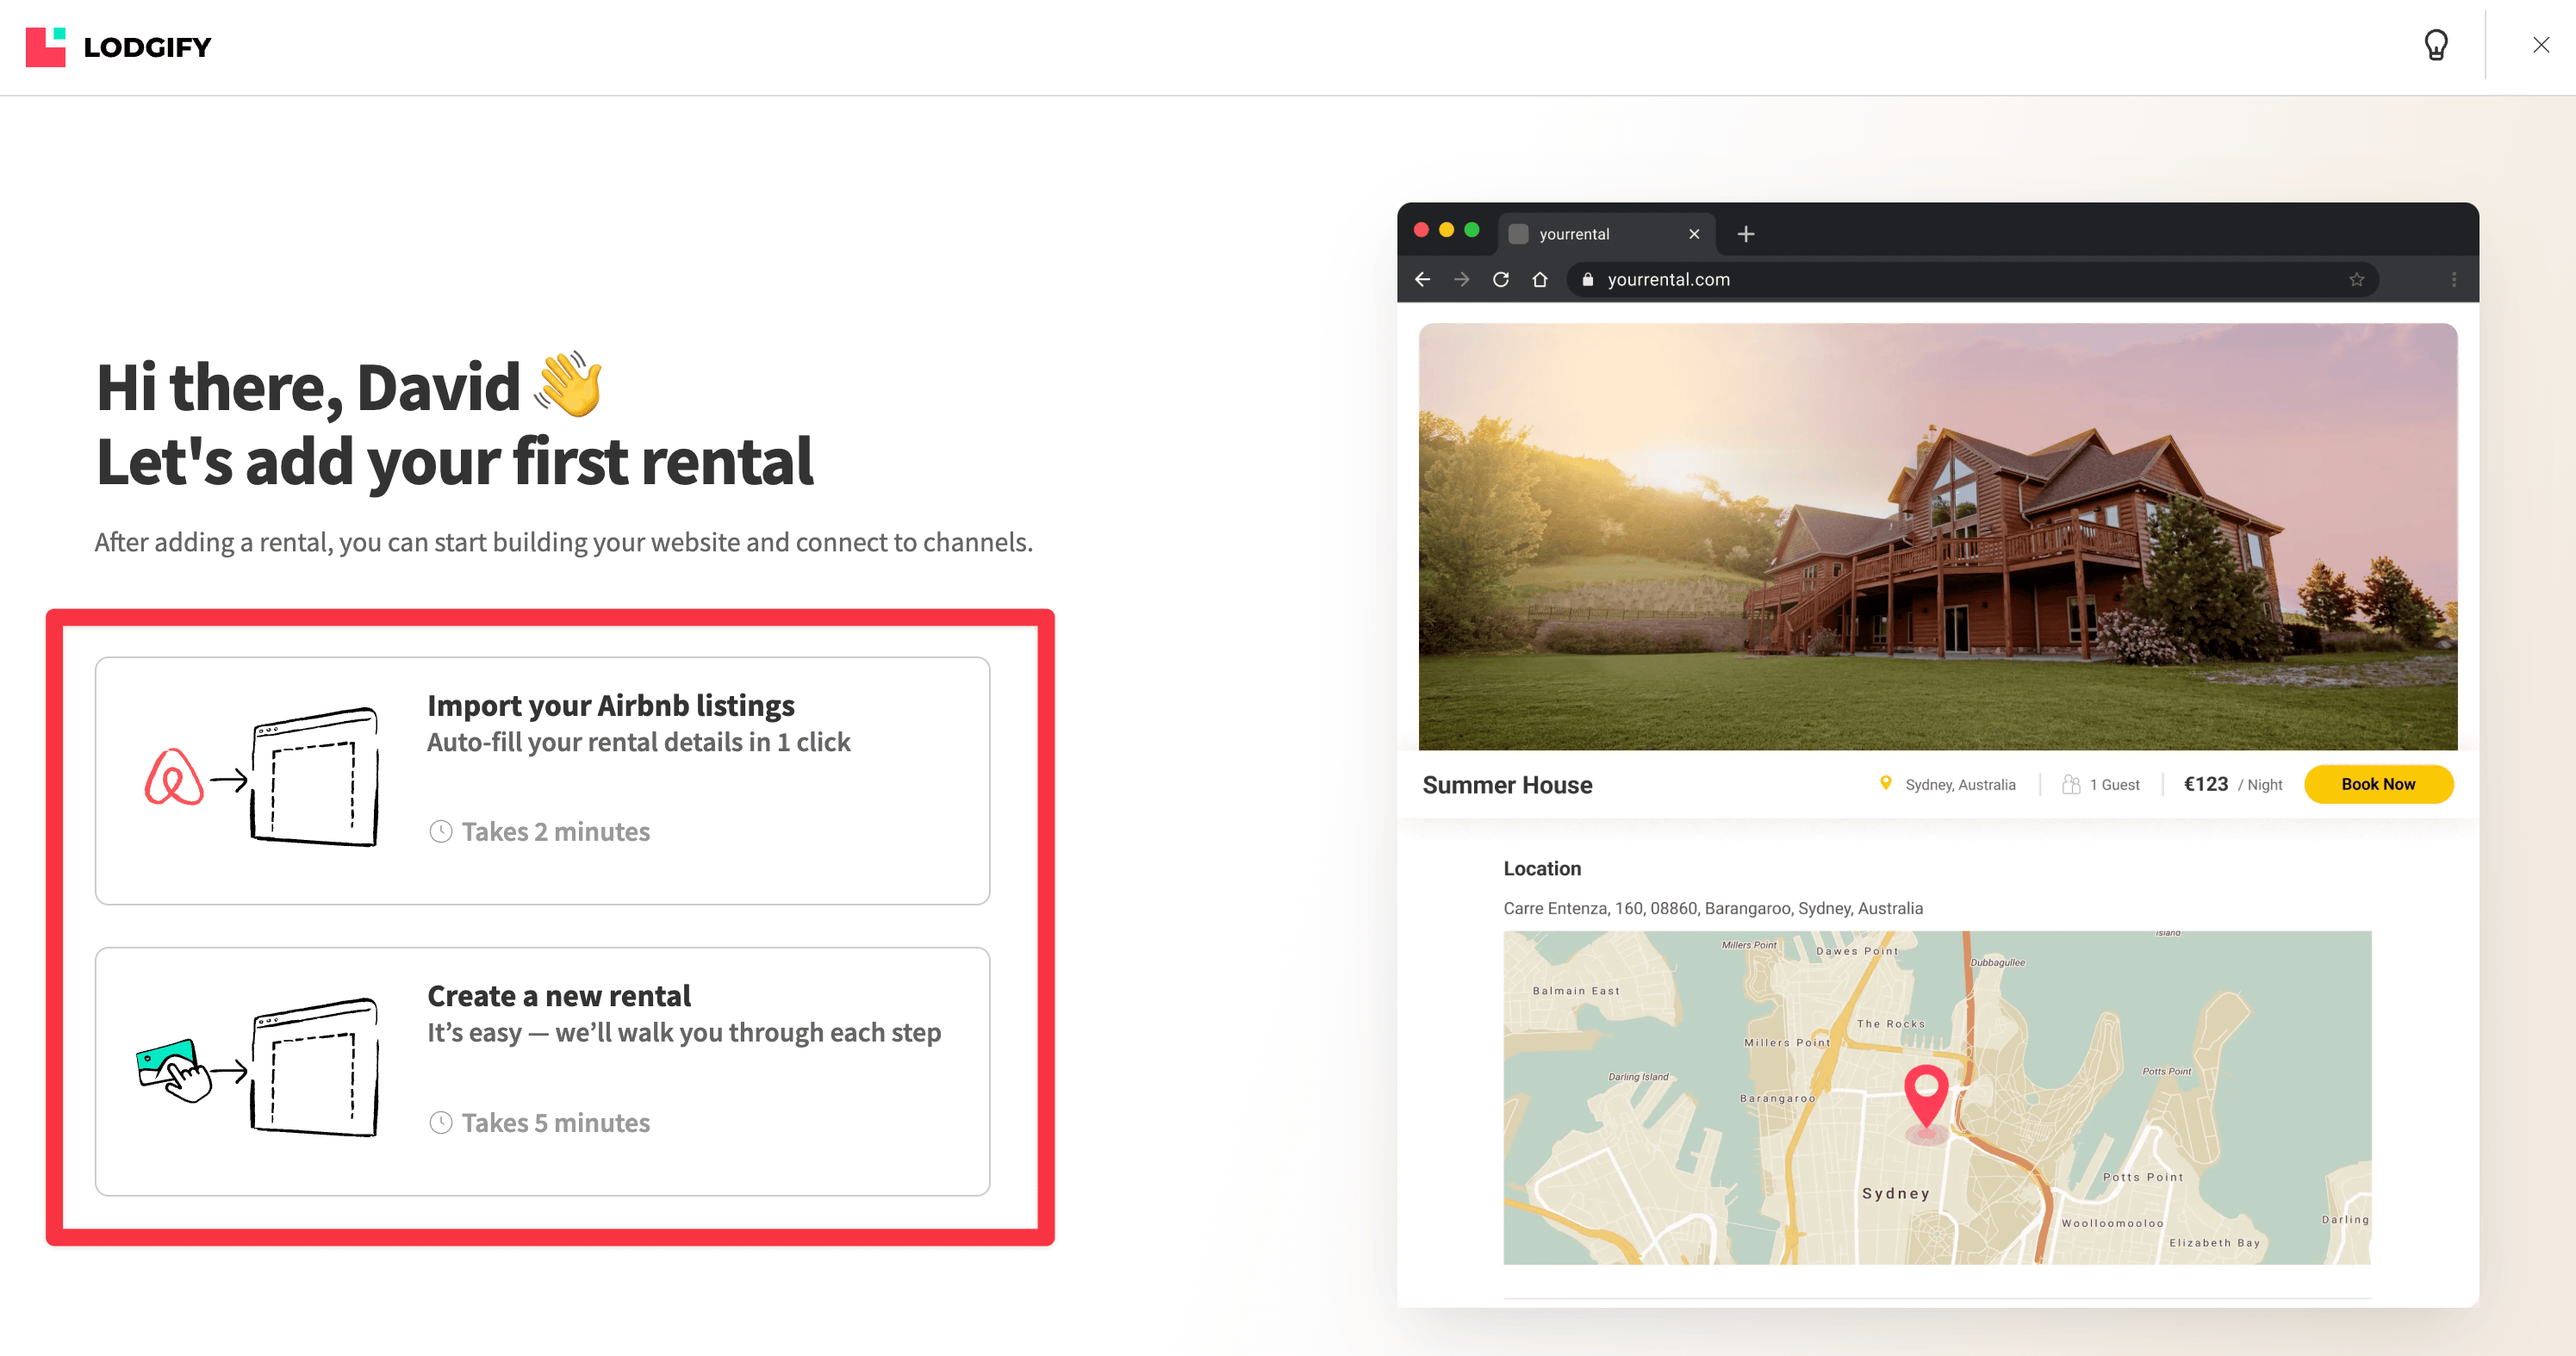
1) Auto-import listings from Airbnb — This is the most straightforward approach. Once you log into Airbnb via Lodgify, they'll auto-fill all the rental details like captions, gallery images, location, etc.
Note: Lodgify do NOT import your exisitng Airbnb reviews, so you will still need to add them manually. Take this opportunity to filter out undesirable or otherwise inaccurate reviews for your rental.
2) Manually create new listings — For new owners or if you're creating listings for any new property.
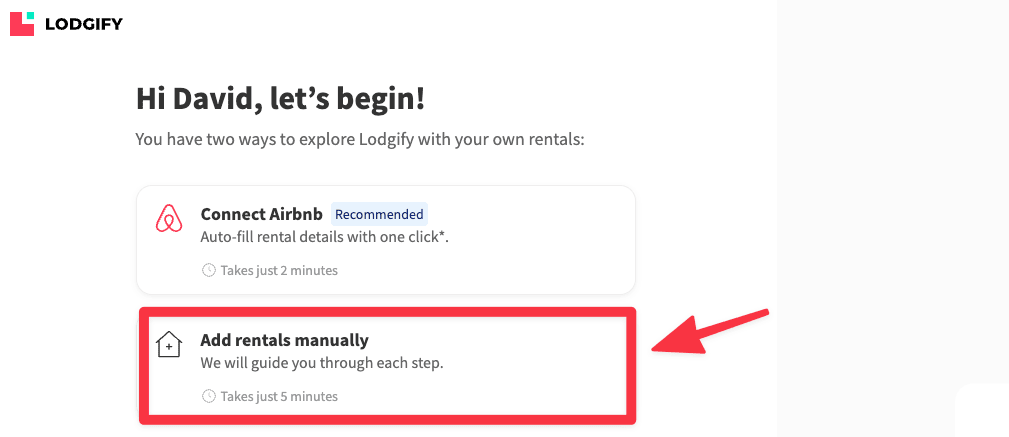
1. Click Add Rentals Manually
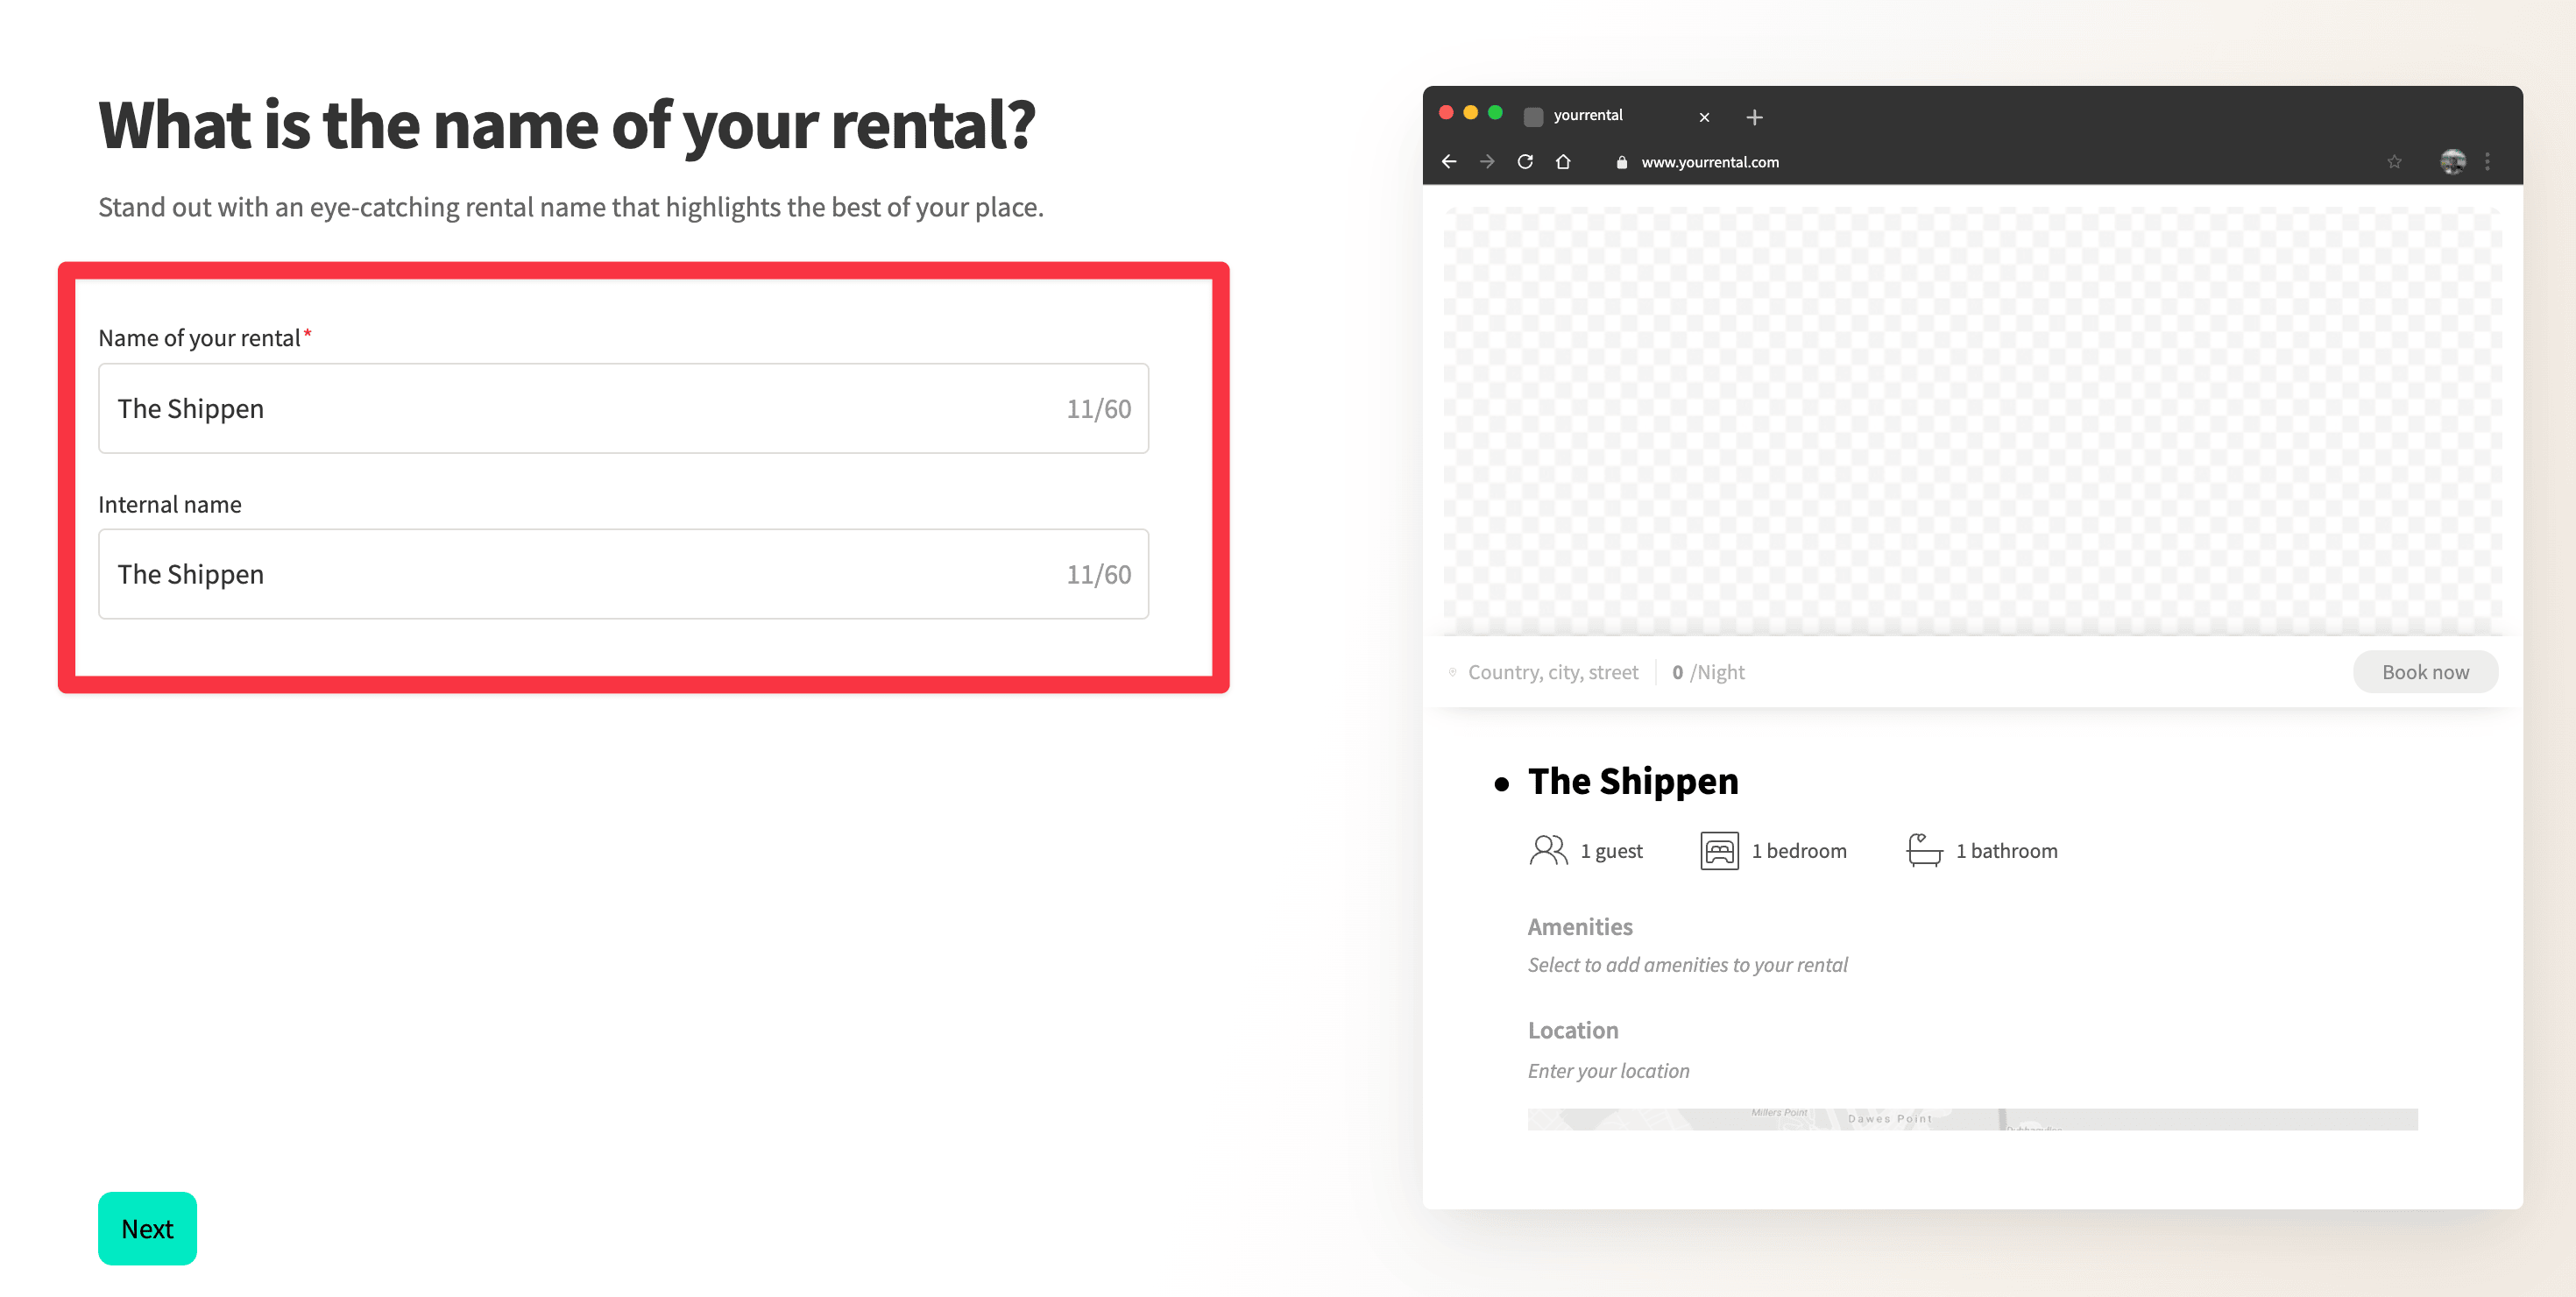
2. Enter your public rental name (the name guests will see). You can also add an internal nickname.
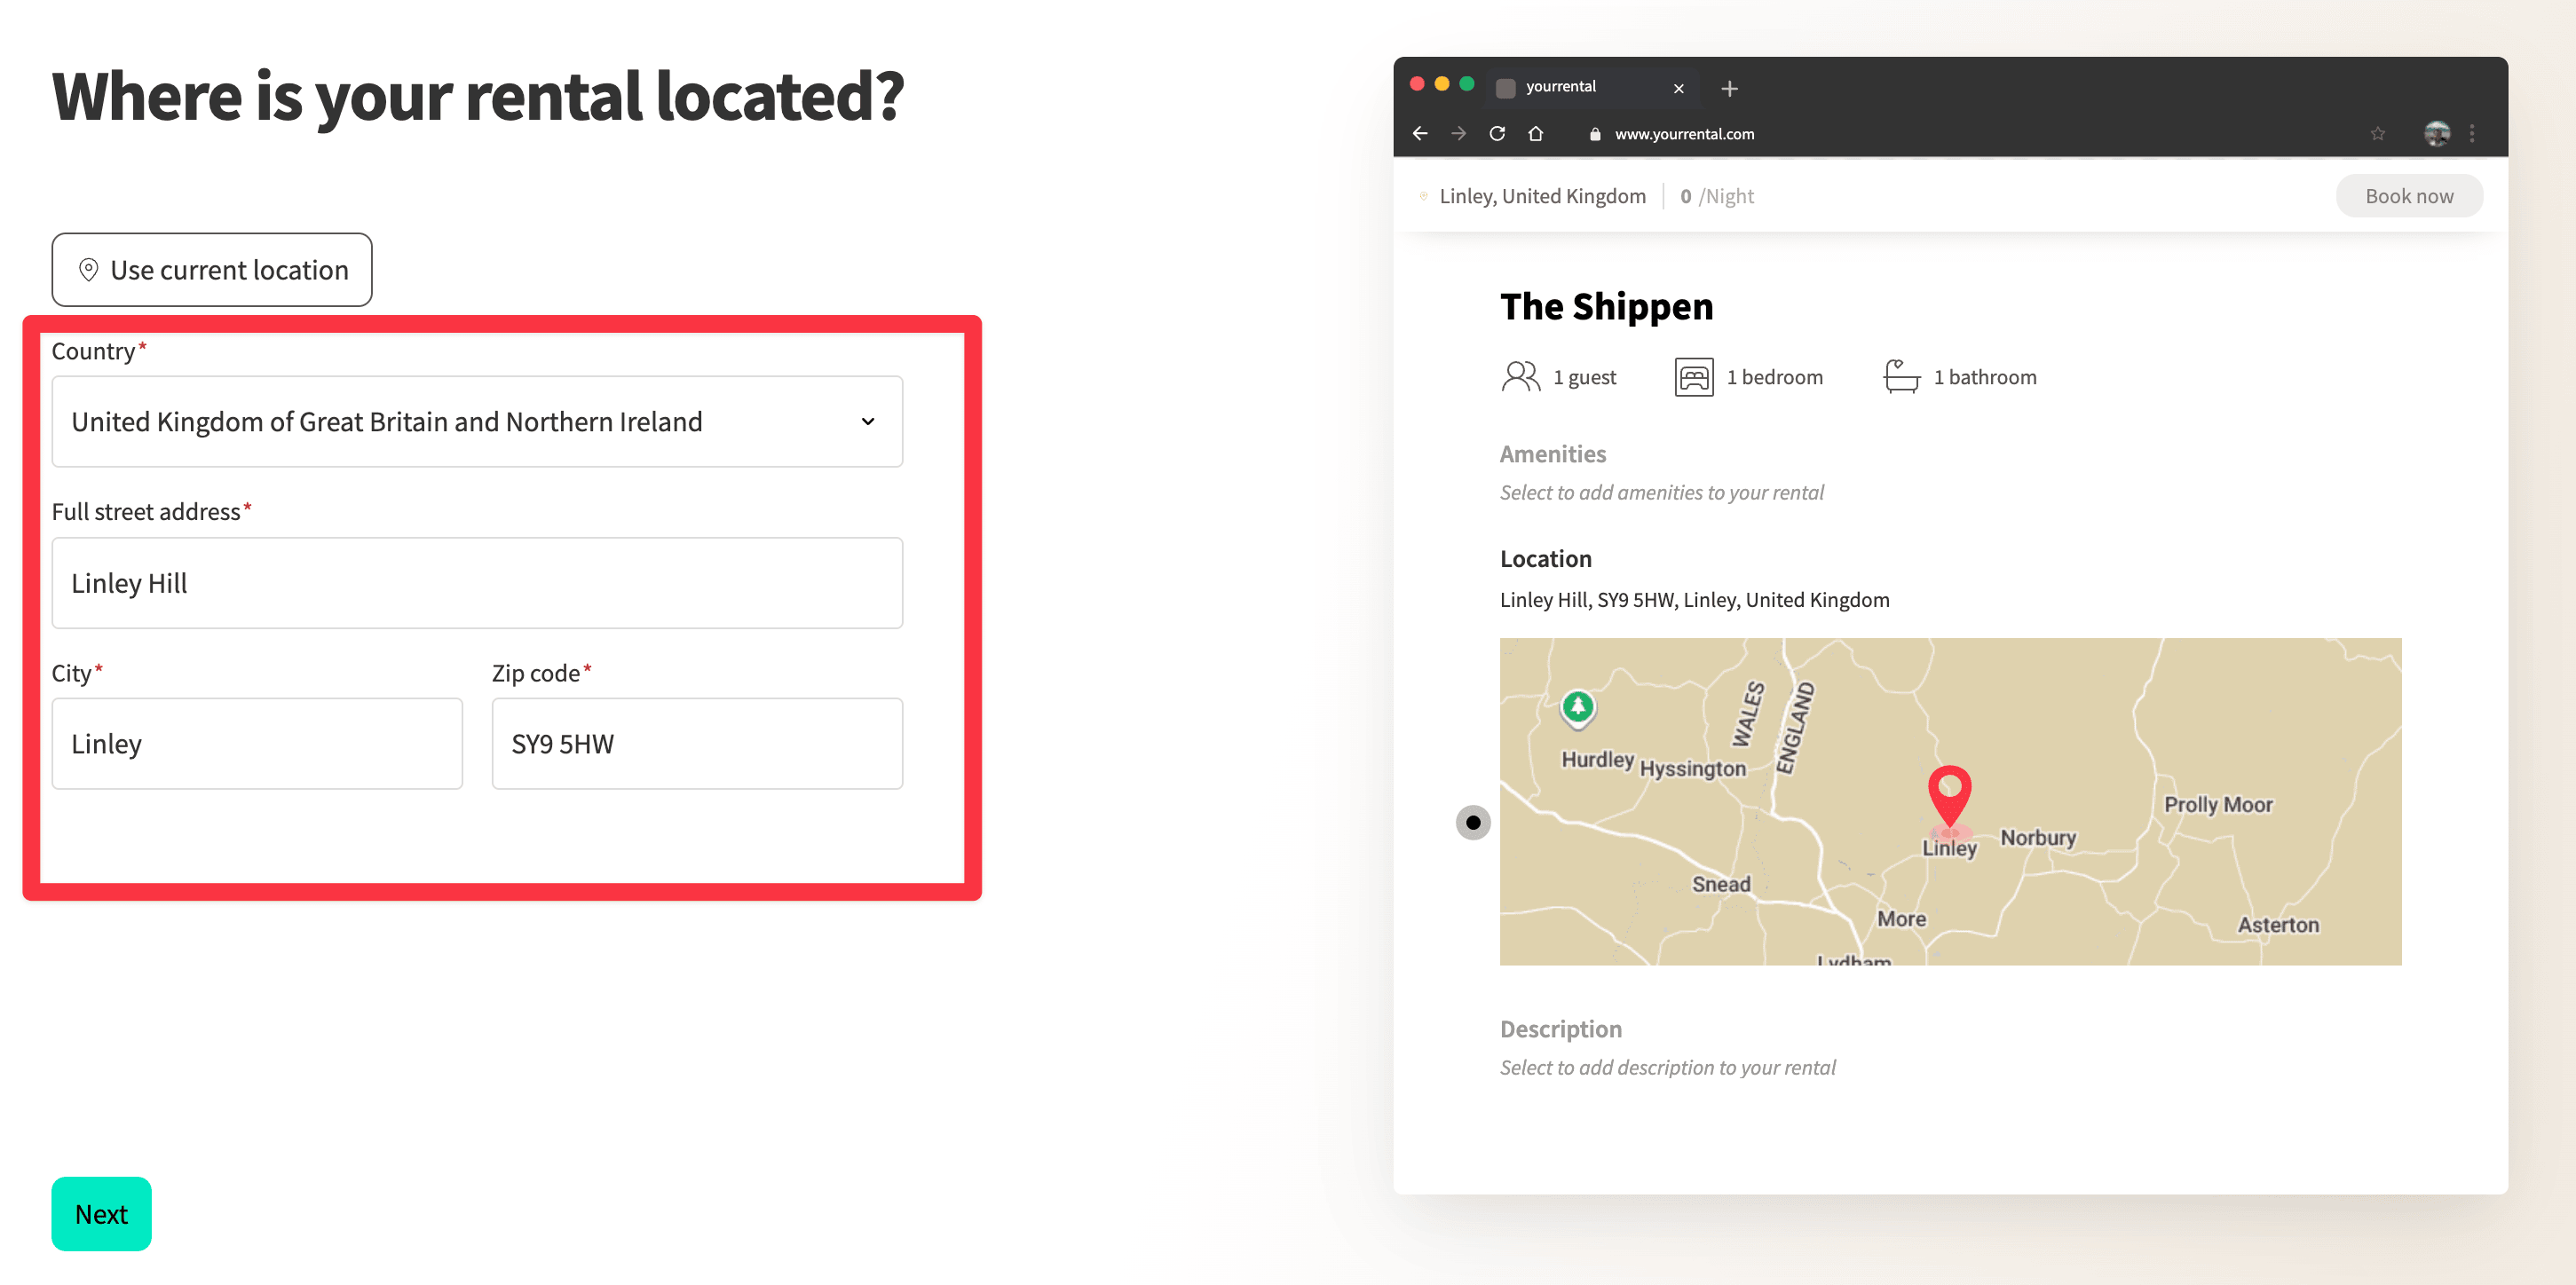
3. Add your property address.
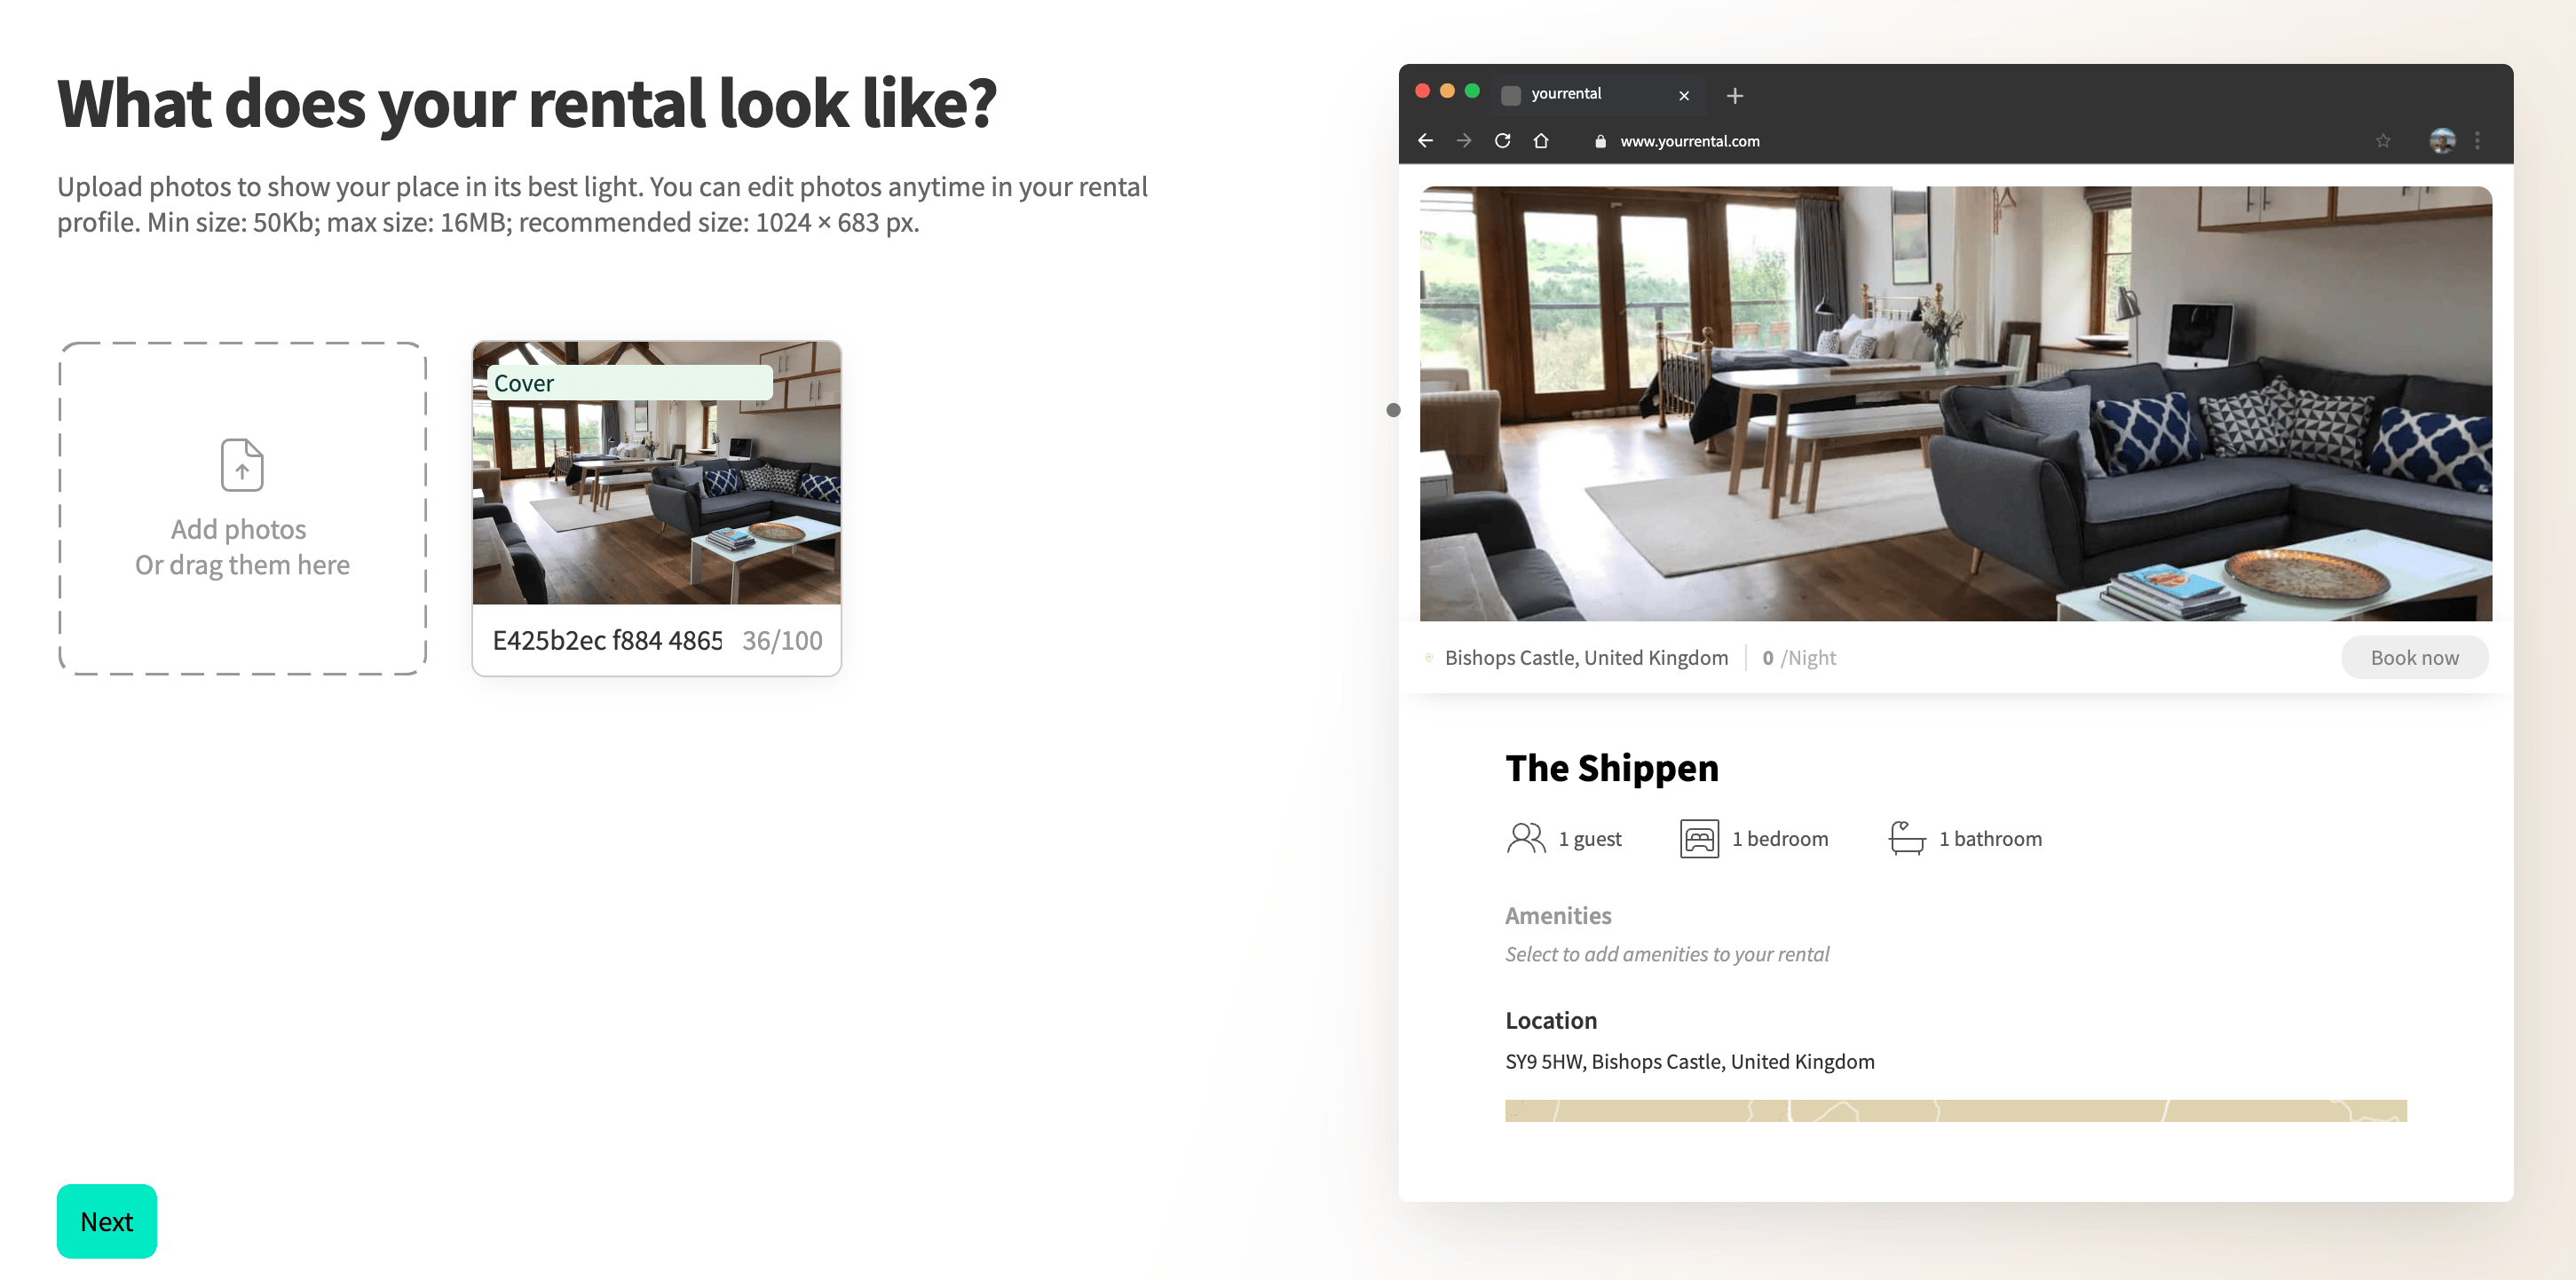
4. Upload photos – start with one, but add more later for personalization.
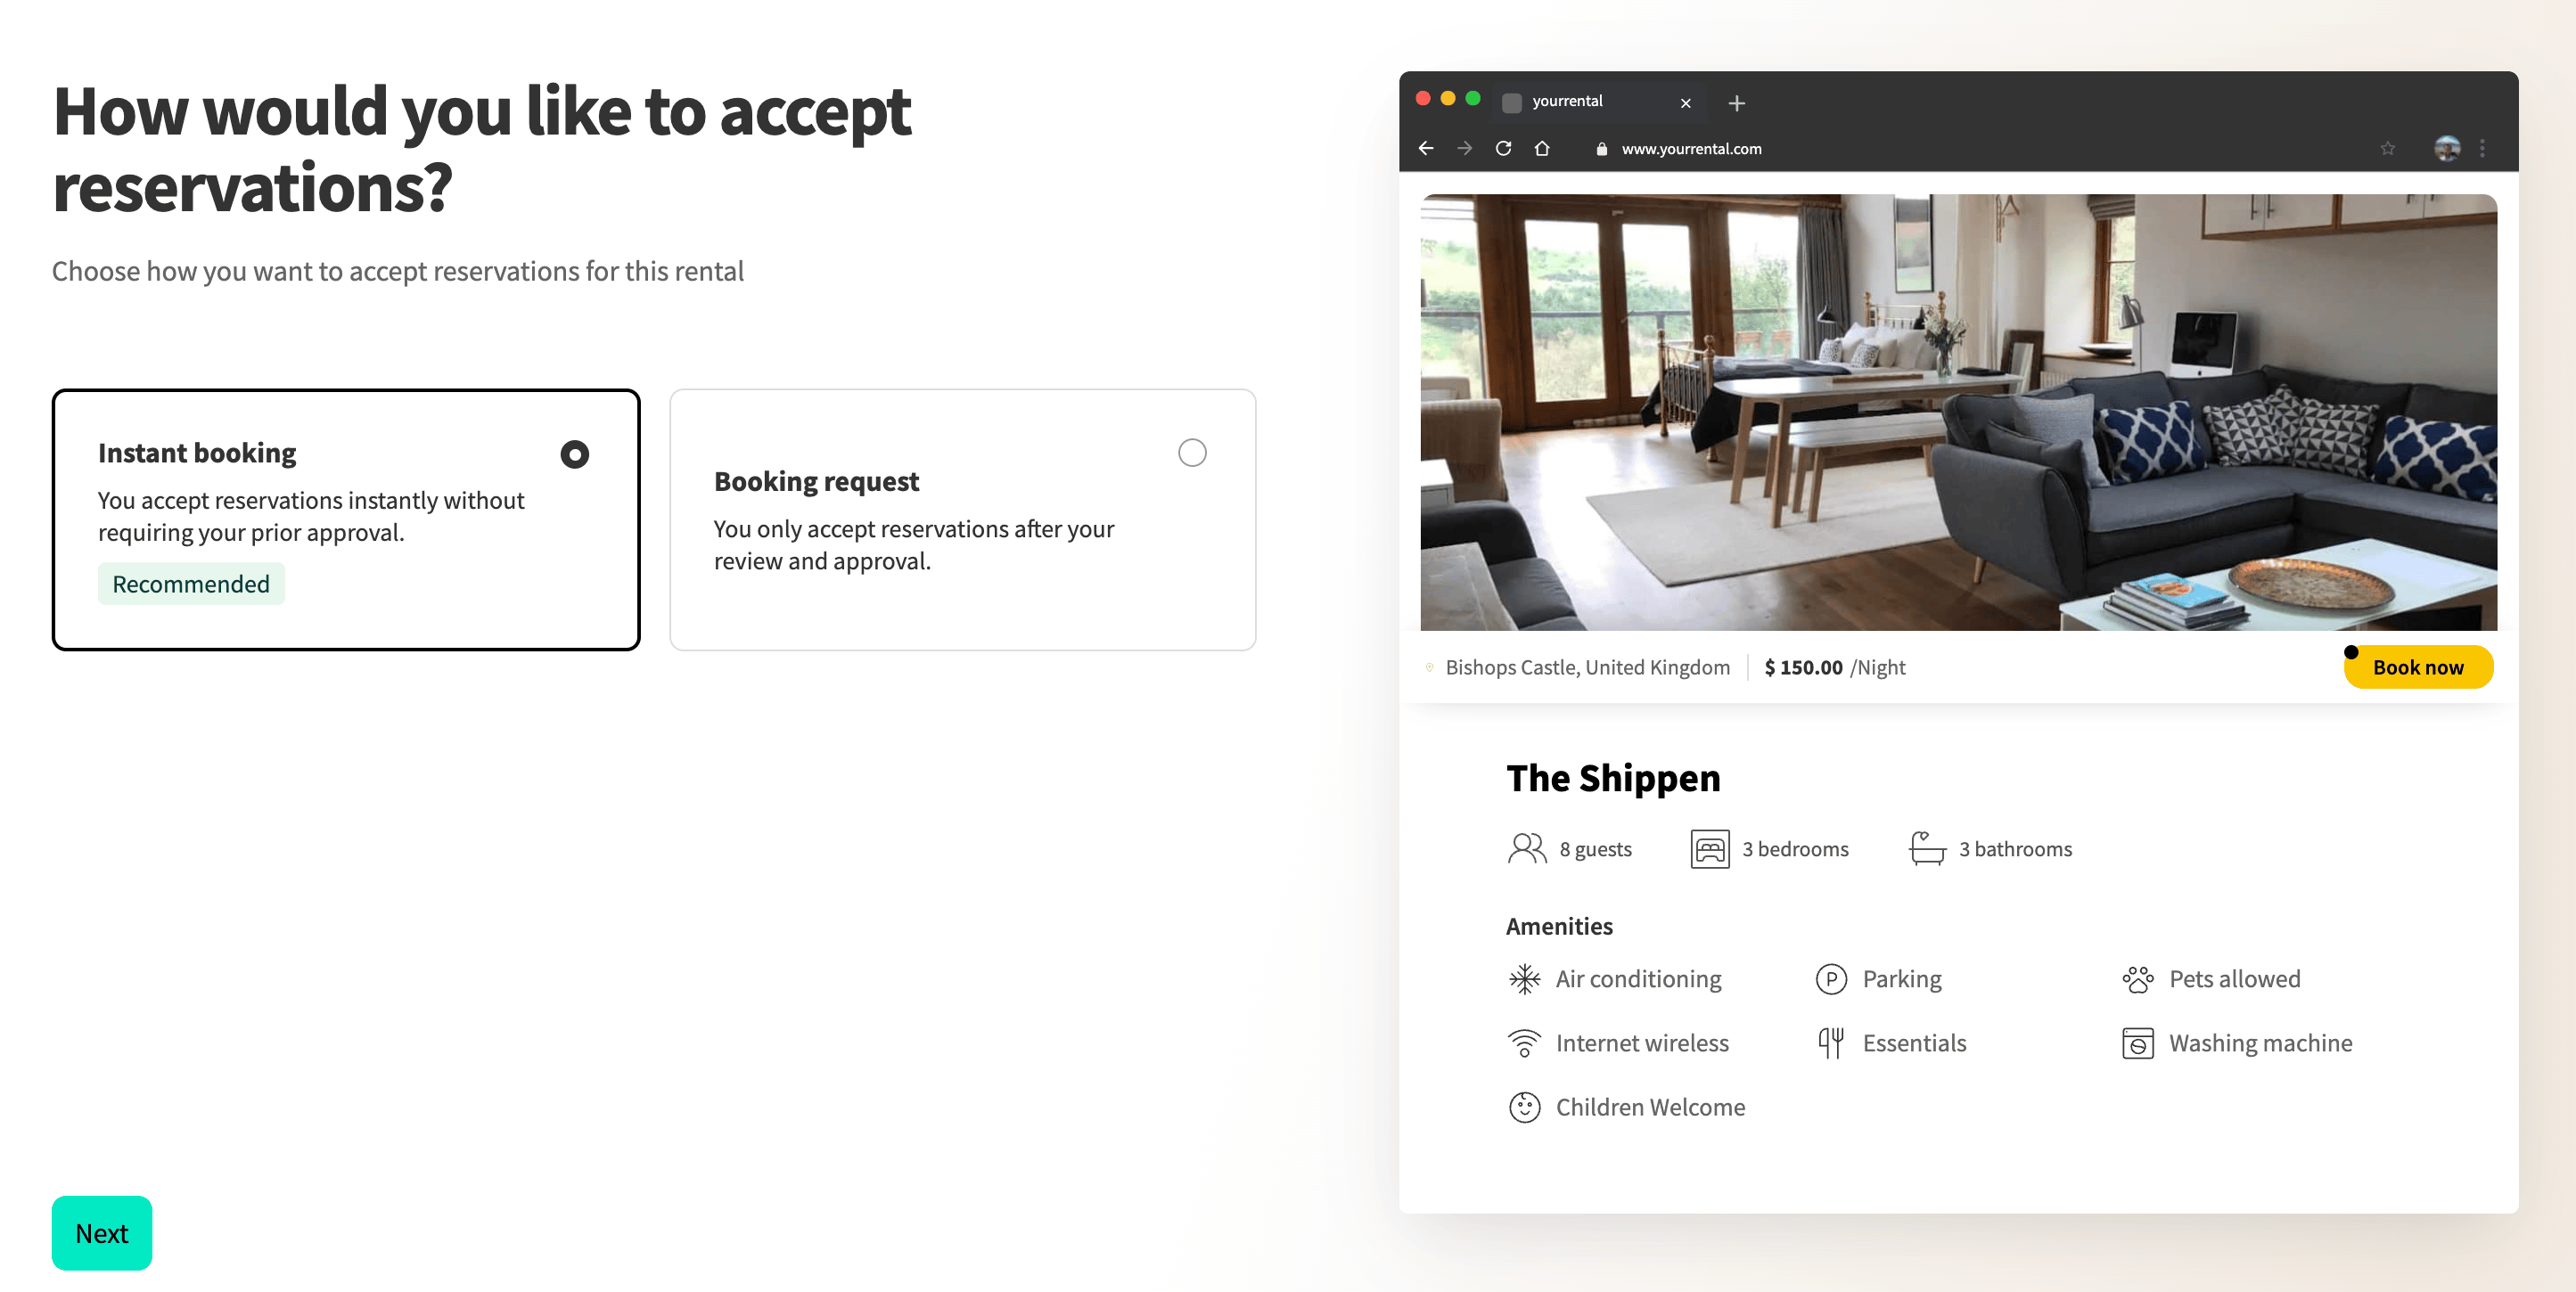
5. Fill in the following details:
Finally, choose your booking style:
Once your rental is set up, let's get to the fun part — building your website.
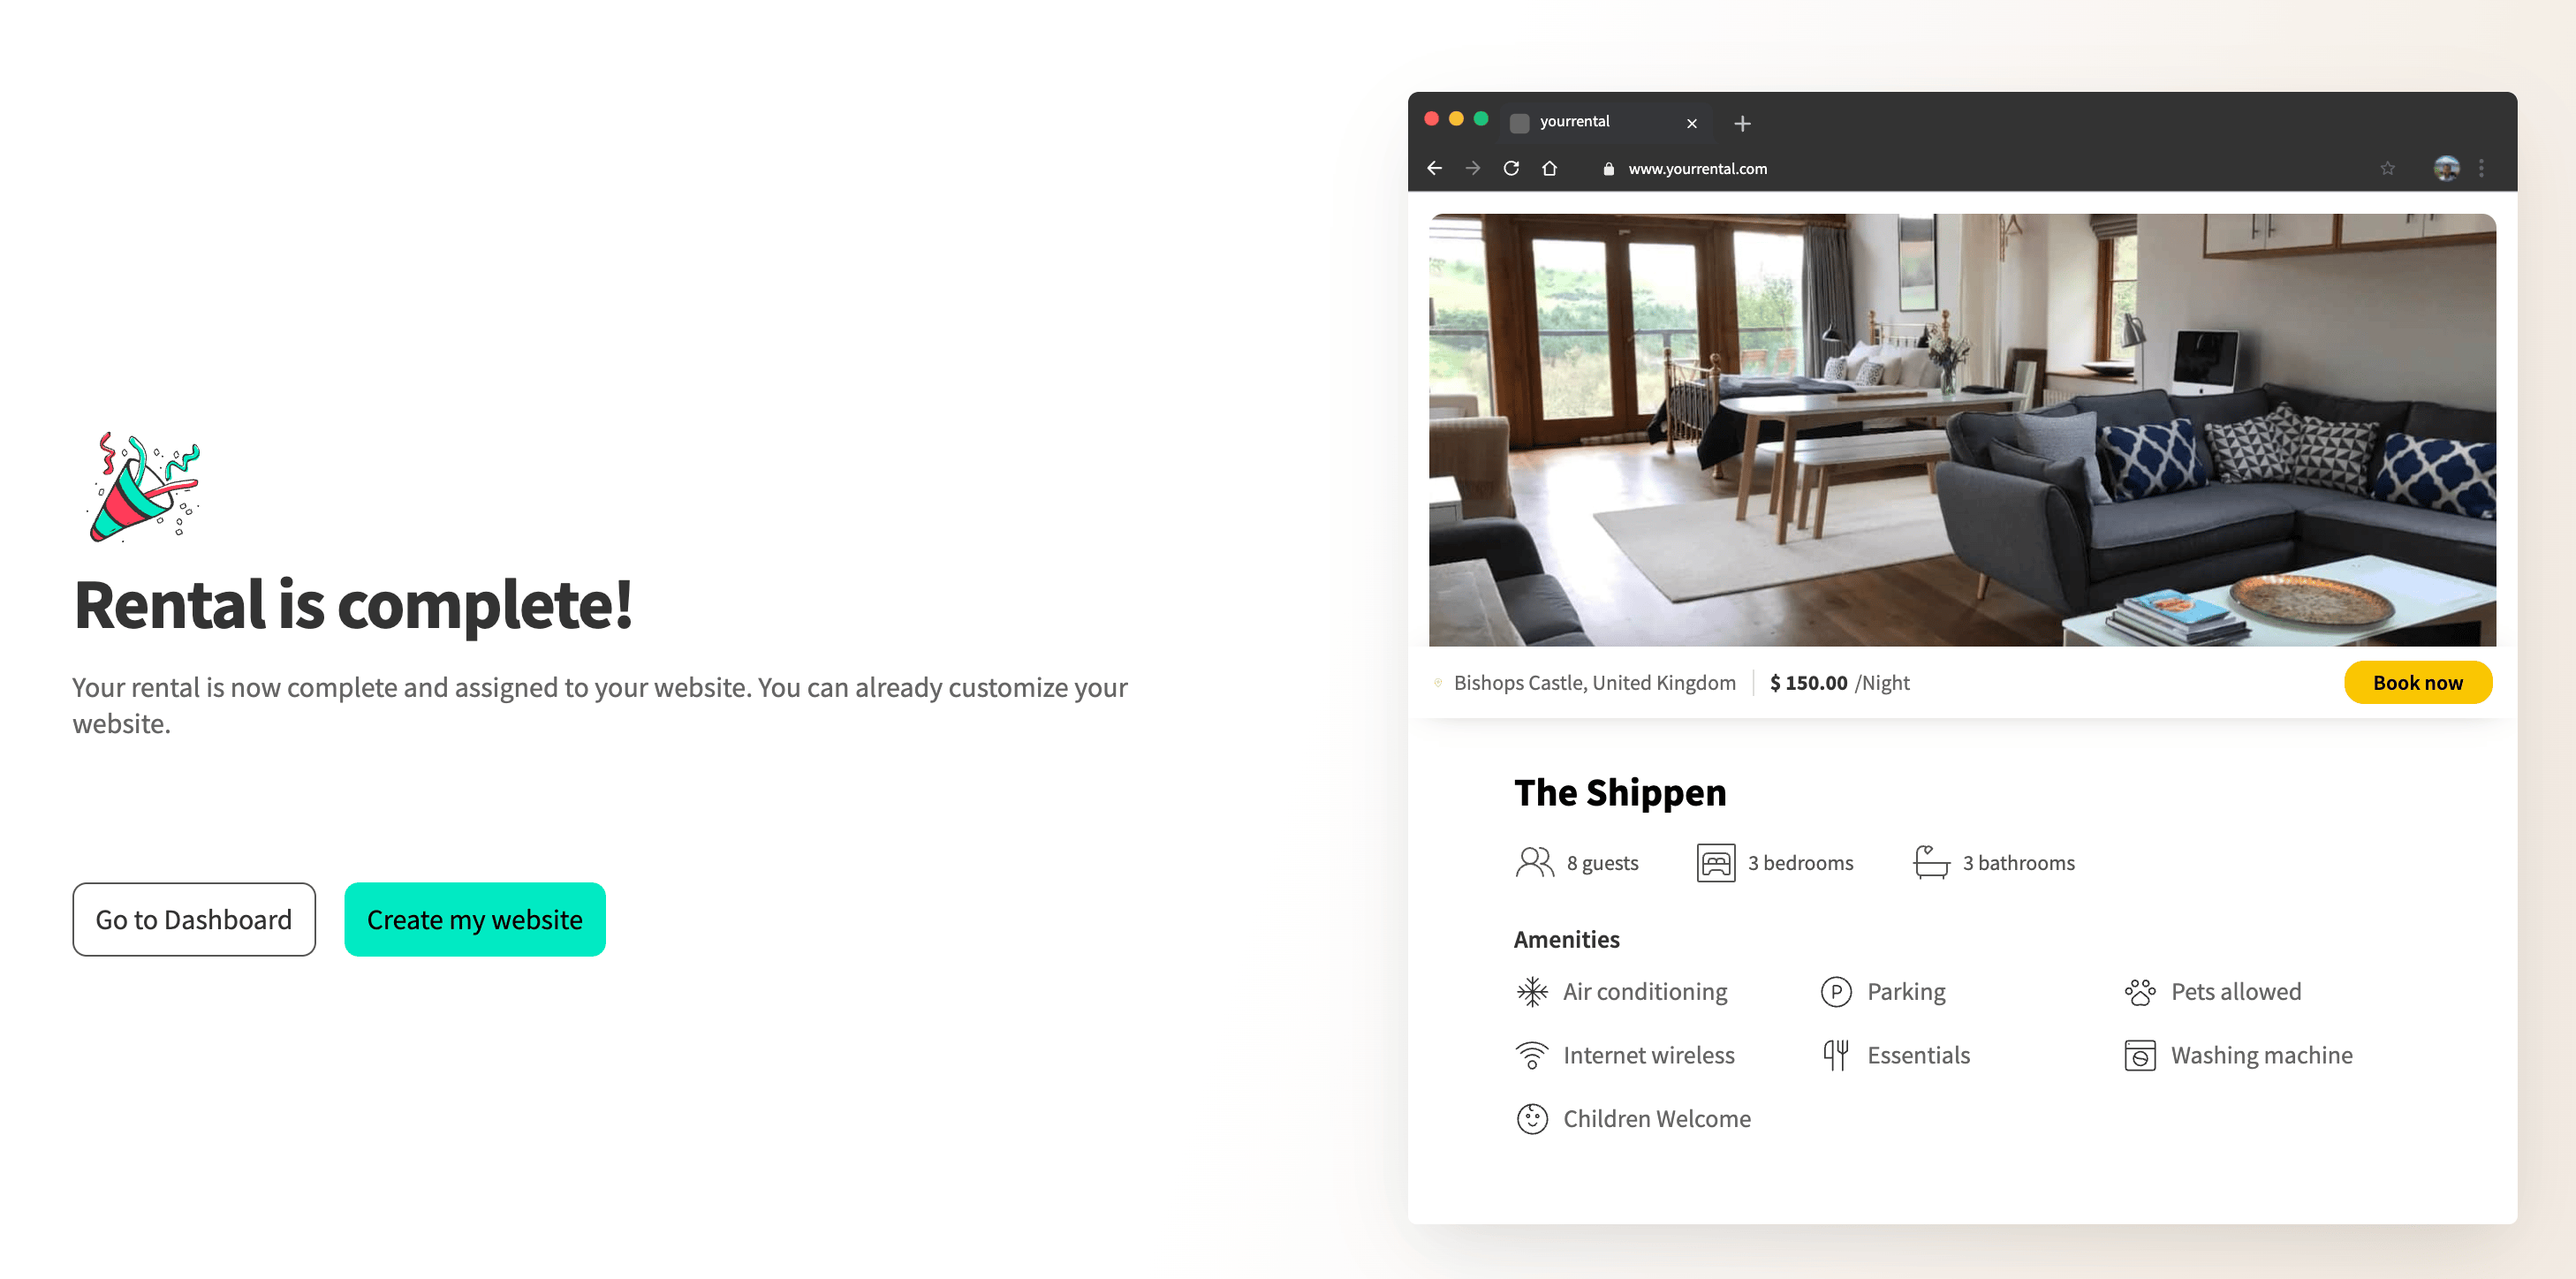
In case you didn't know, you can access Lodgify's website builder (along with reservations, calendar, and channel manager, etc) from the sidebar.
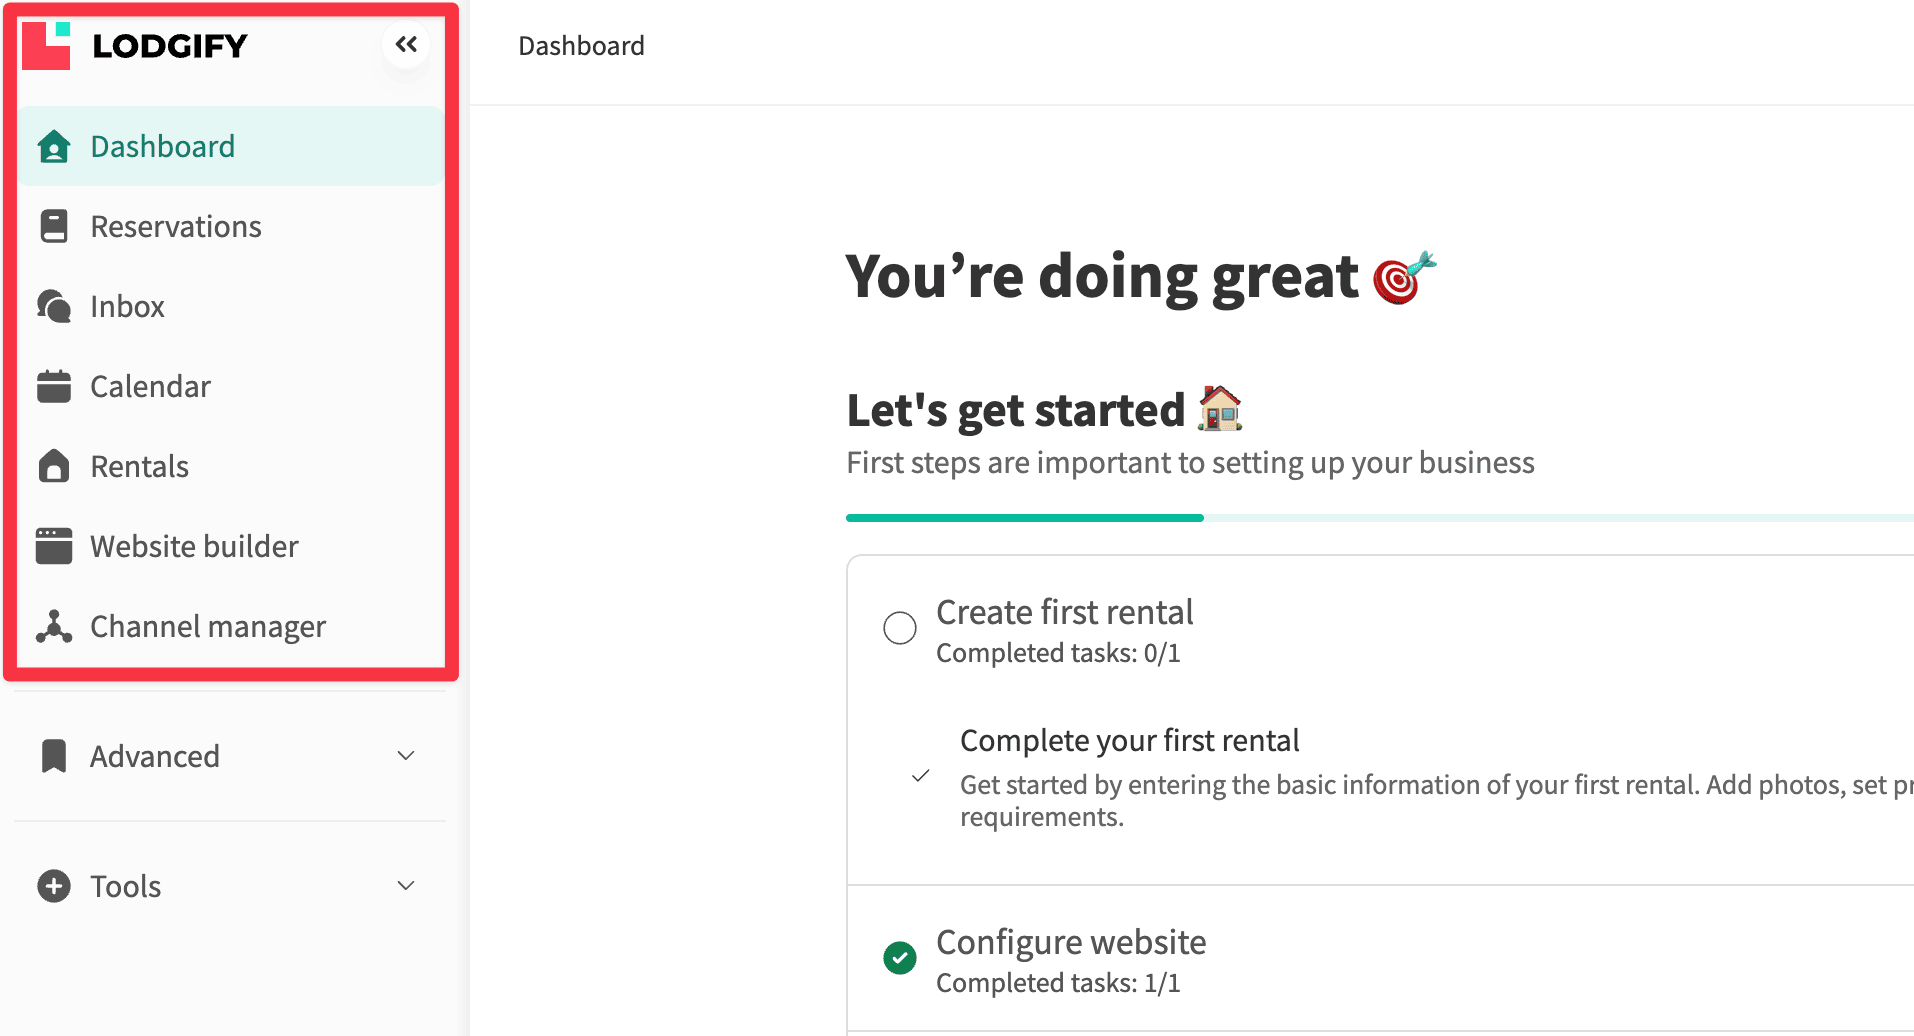
Let's walk through the main sections of the website builder:
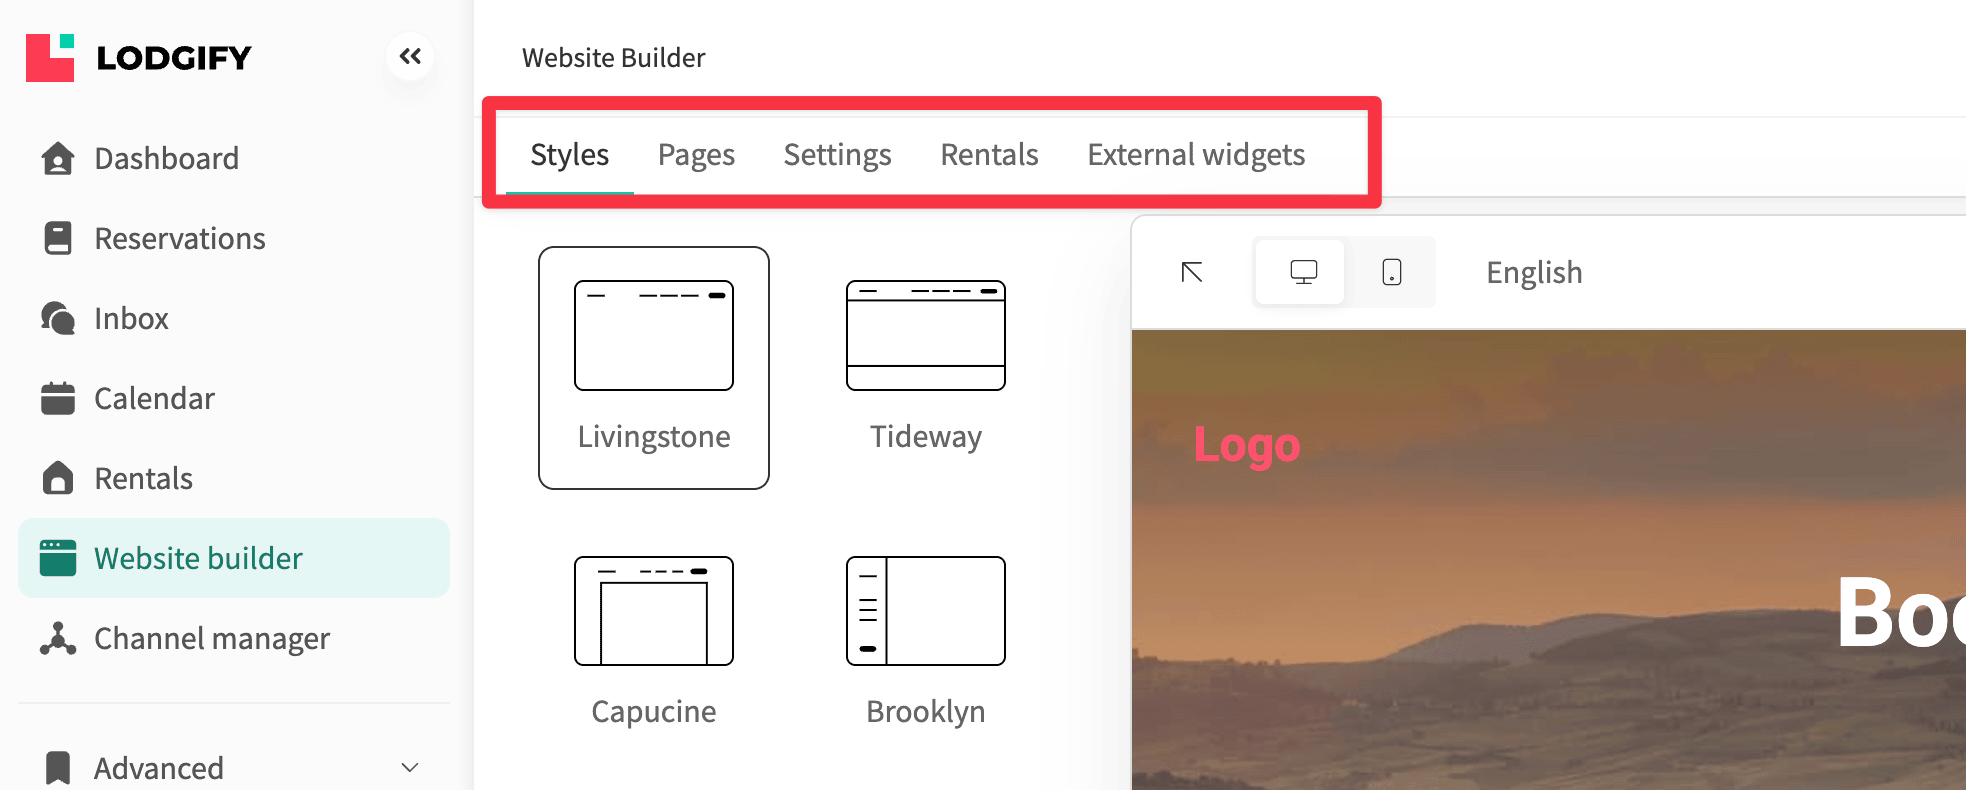
Let's head back to the Style tab.
1. Choose one of the four available templates from Lodgify:
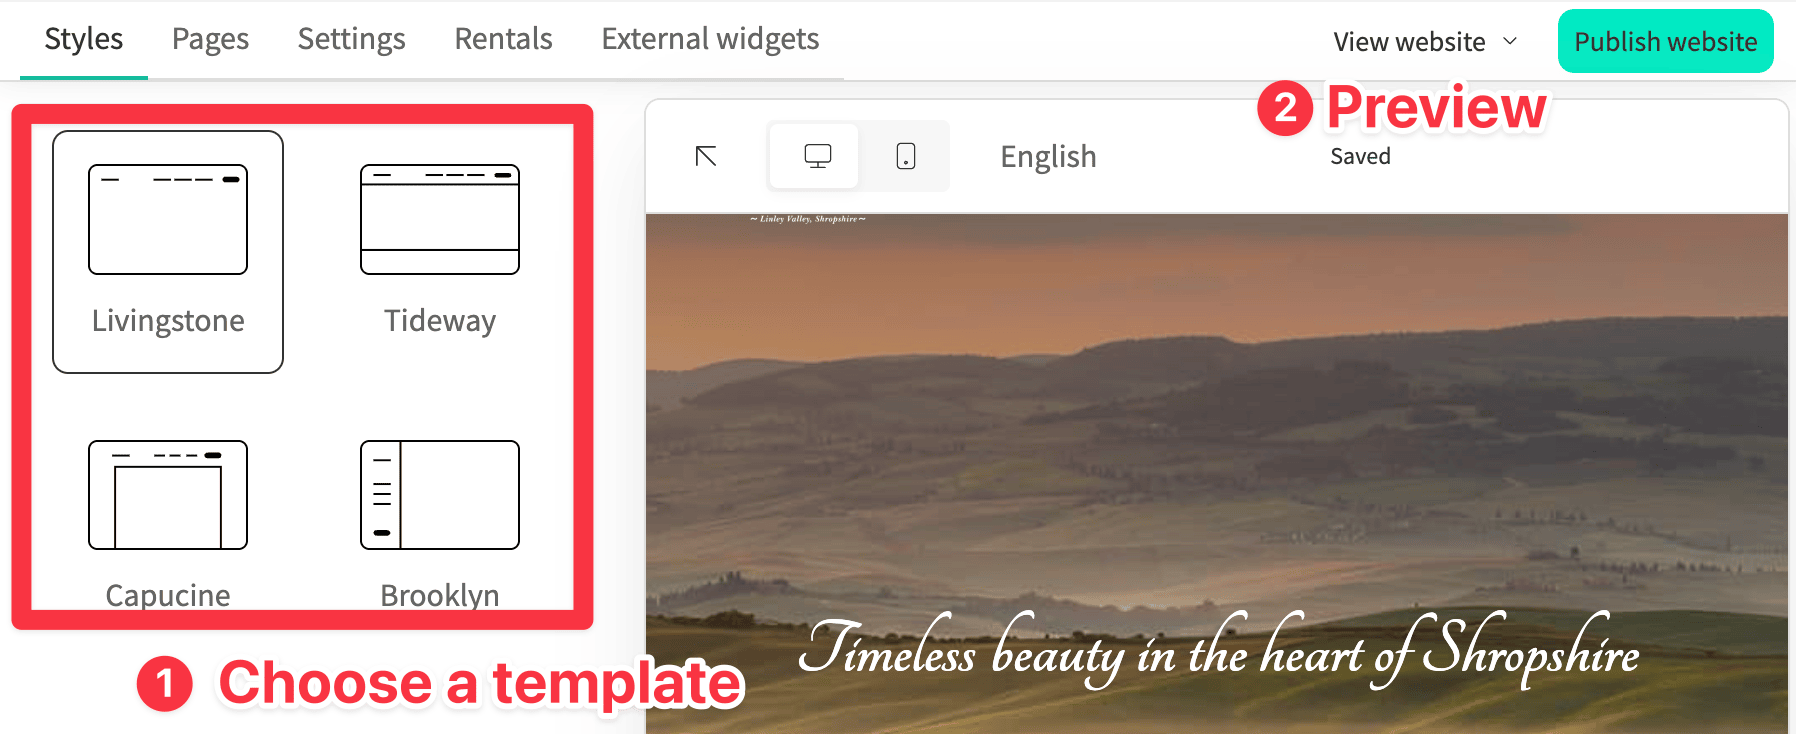
You can preview each template (the preview button is located at the top right of the editor) and pick the design that fits your brand.
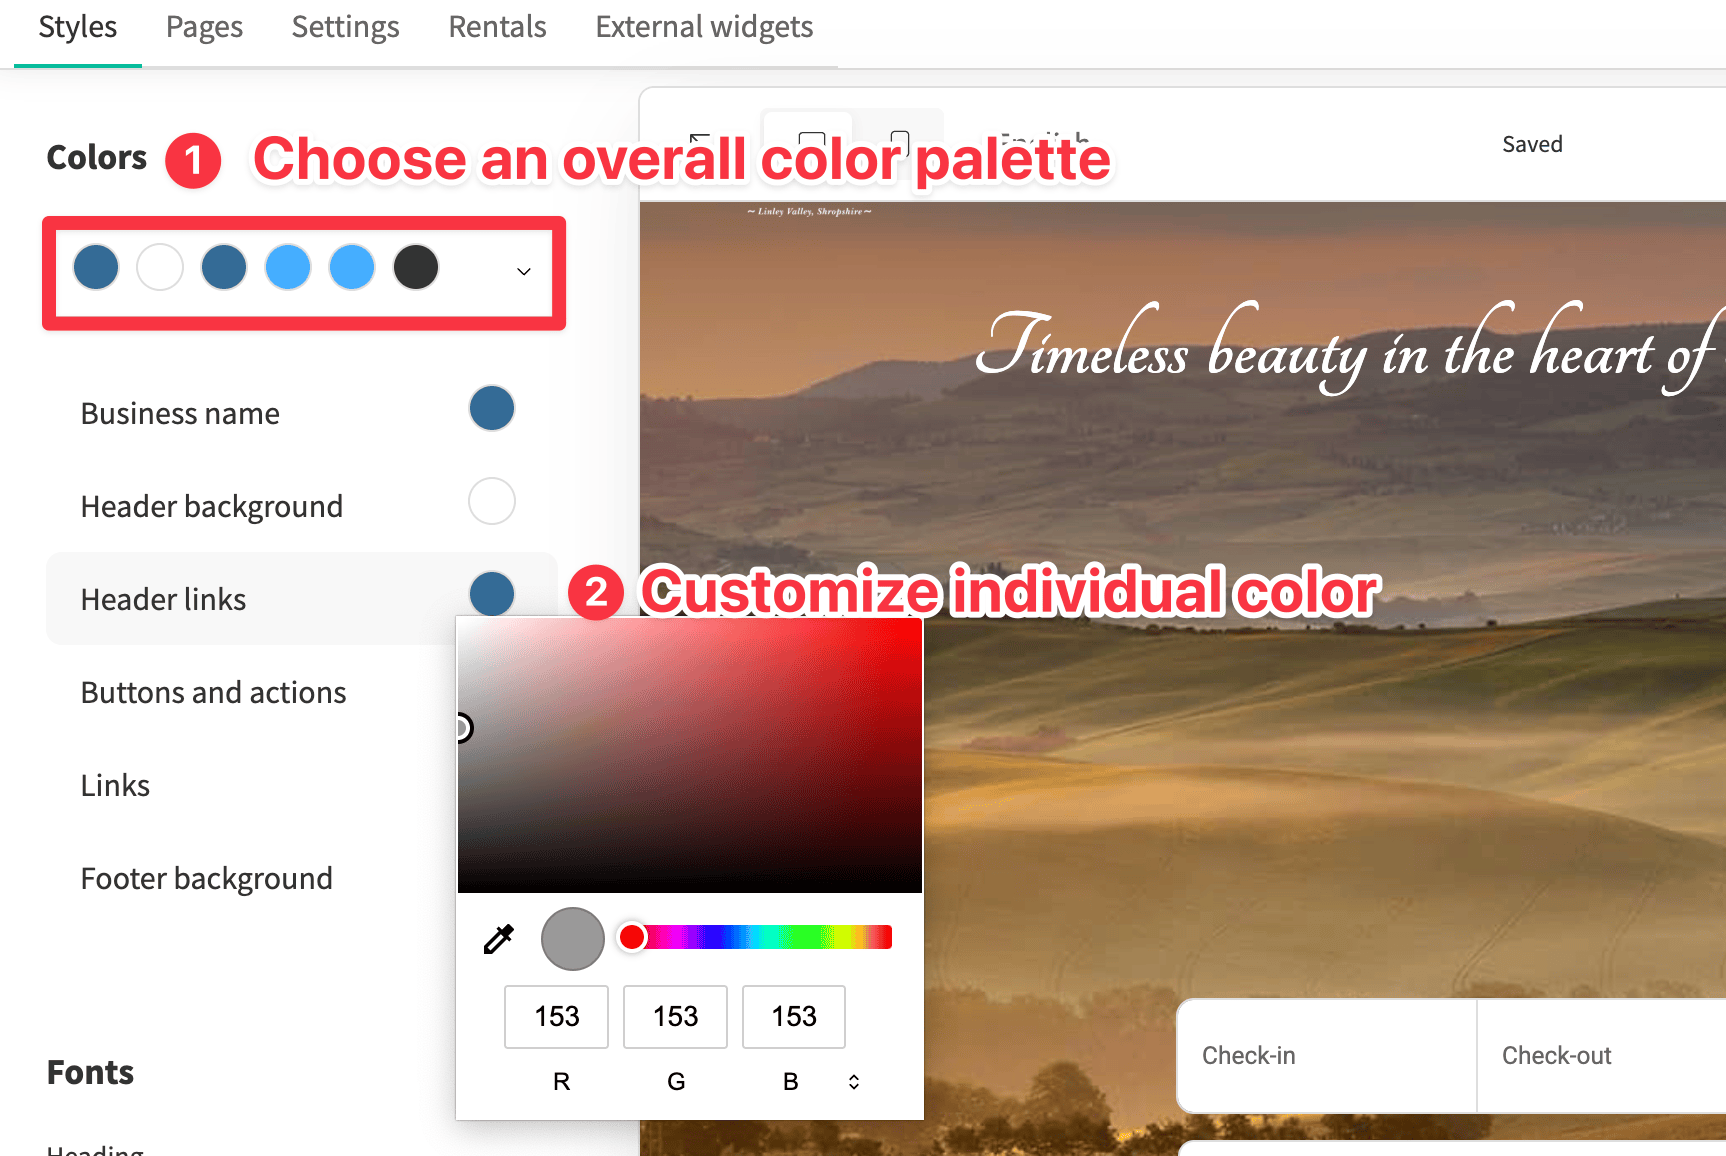
Next, choose a Color palette that matches your rental’s branding.
You can also choose a custom color for the individual element by clicking on the color button itself.
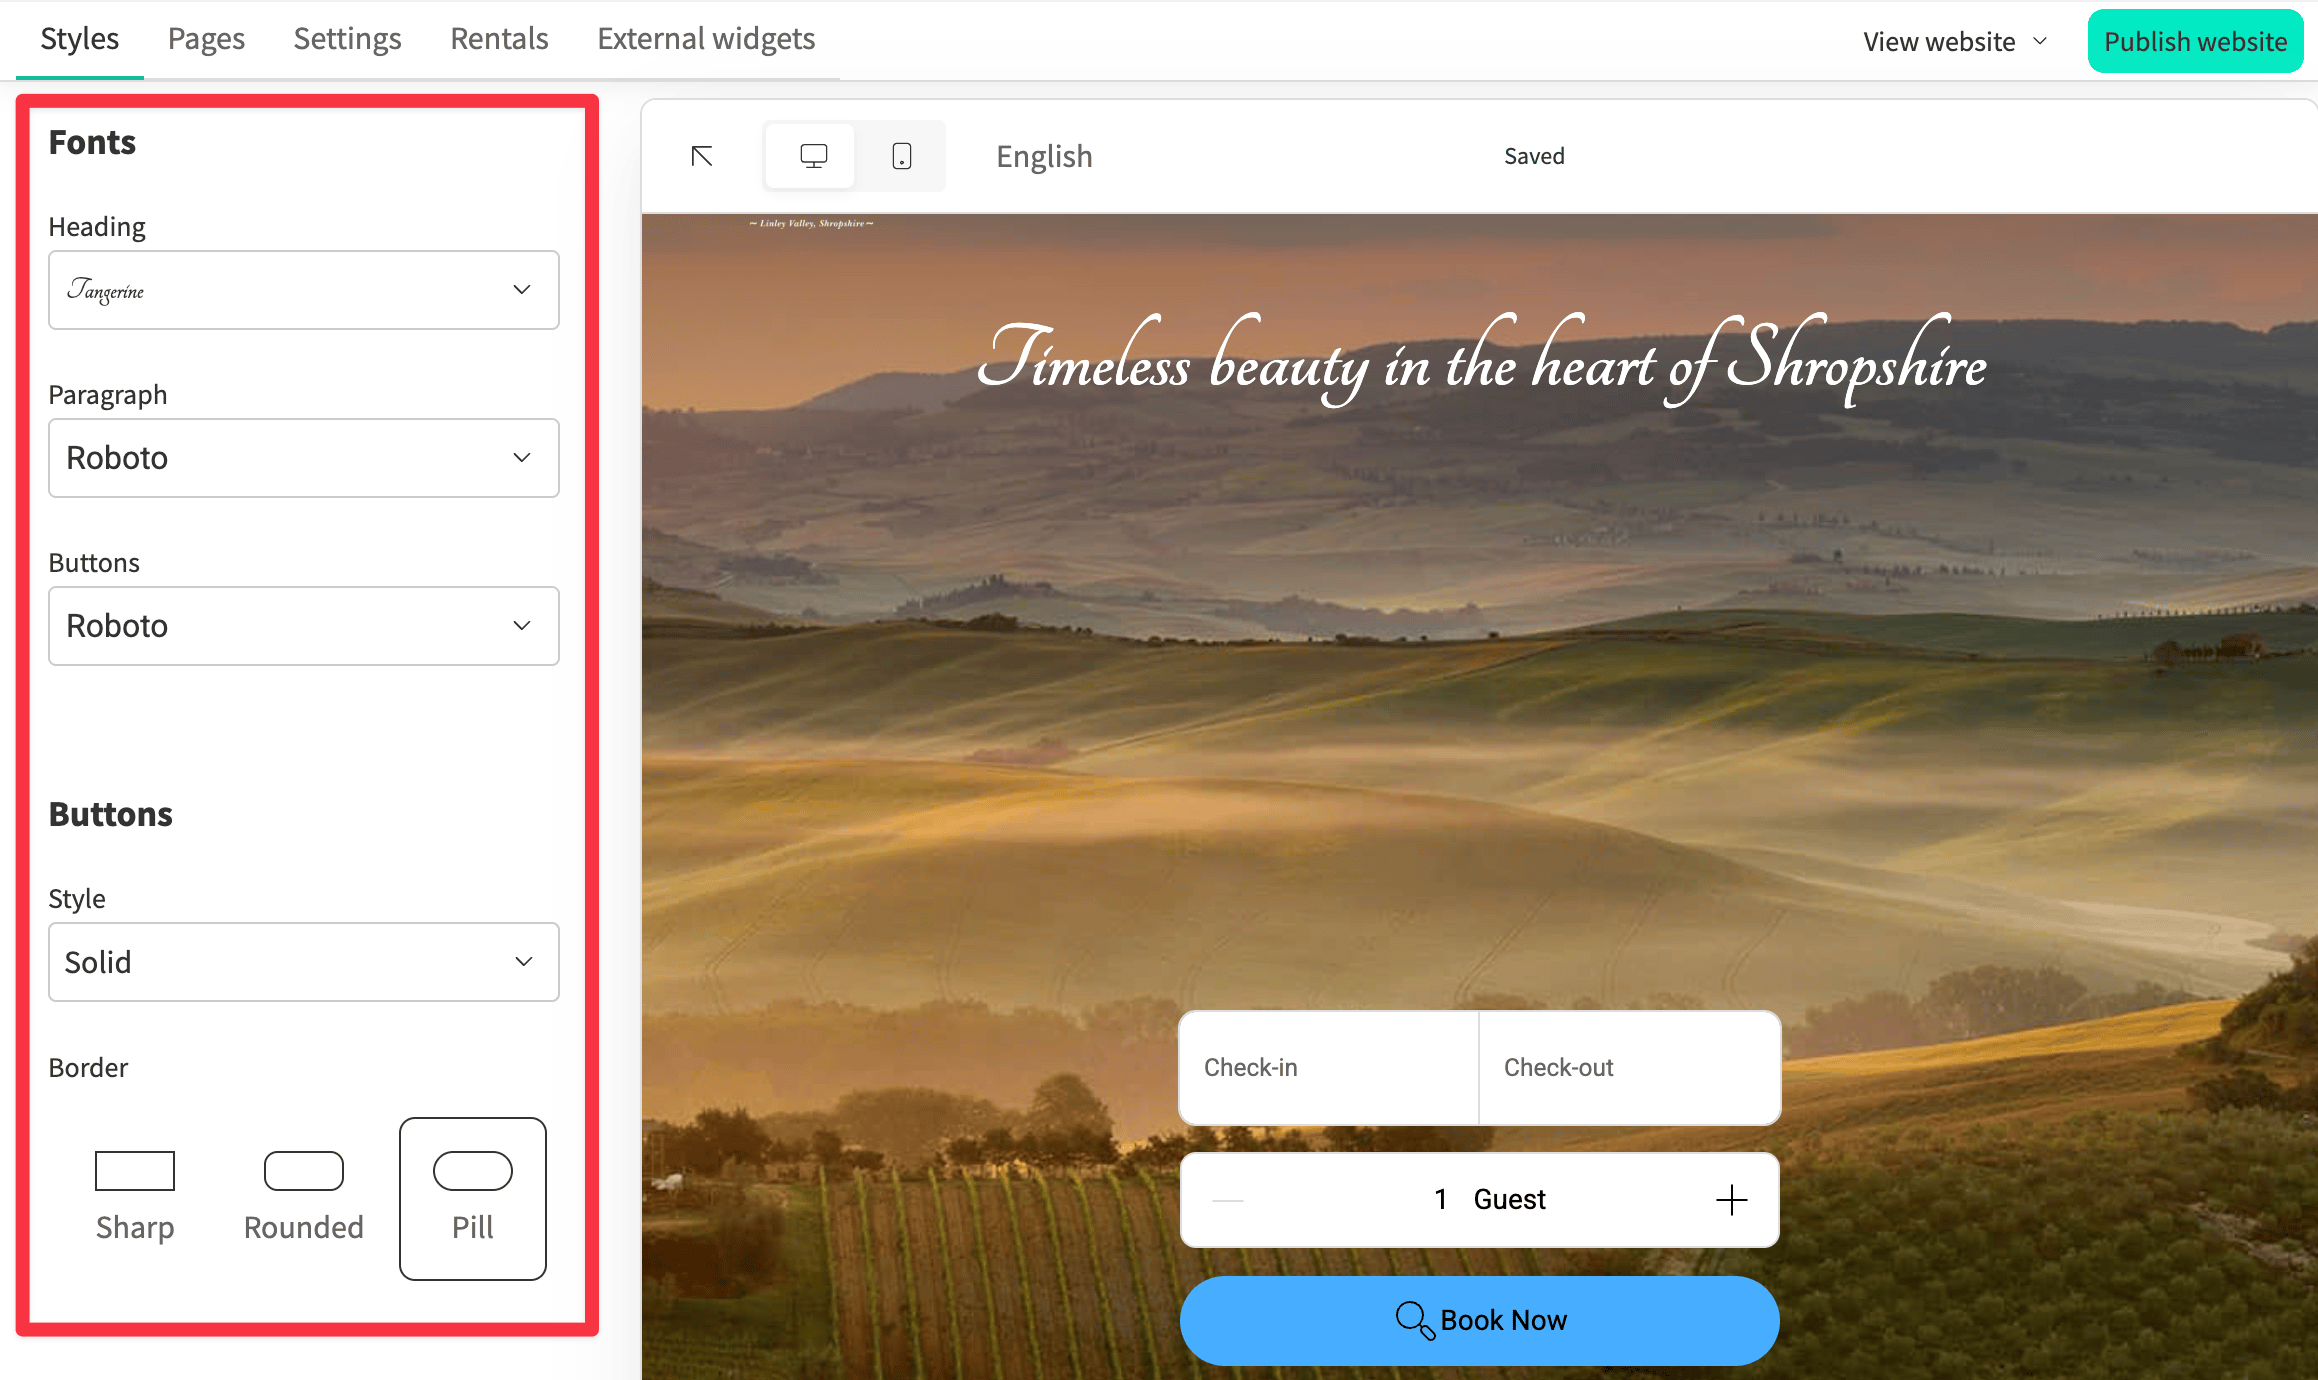
As you work through other design elements like fonts and button styles, you can see the changes apply in real time. Make sure to also view the changes in mobile, all templates in Lodgify automatically adjust to smaller screen sizes by default.
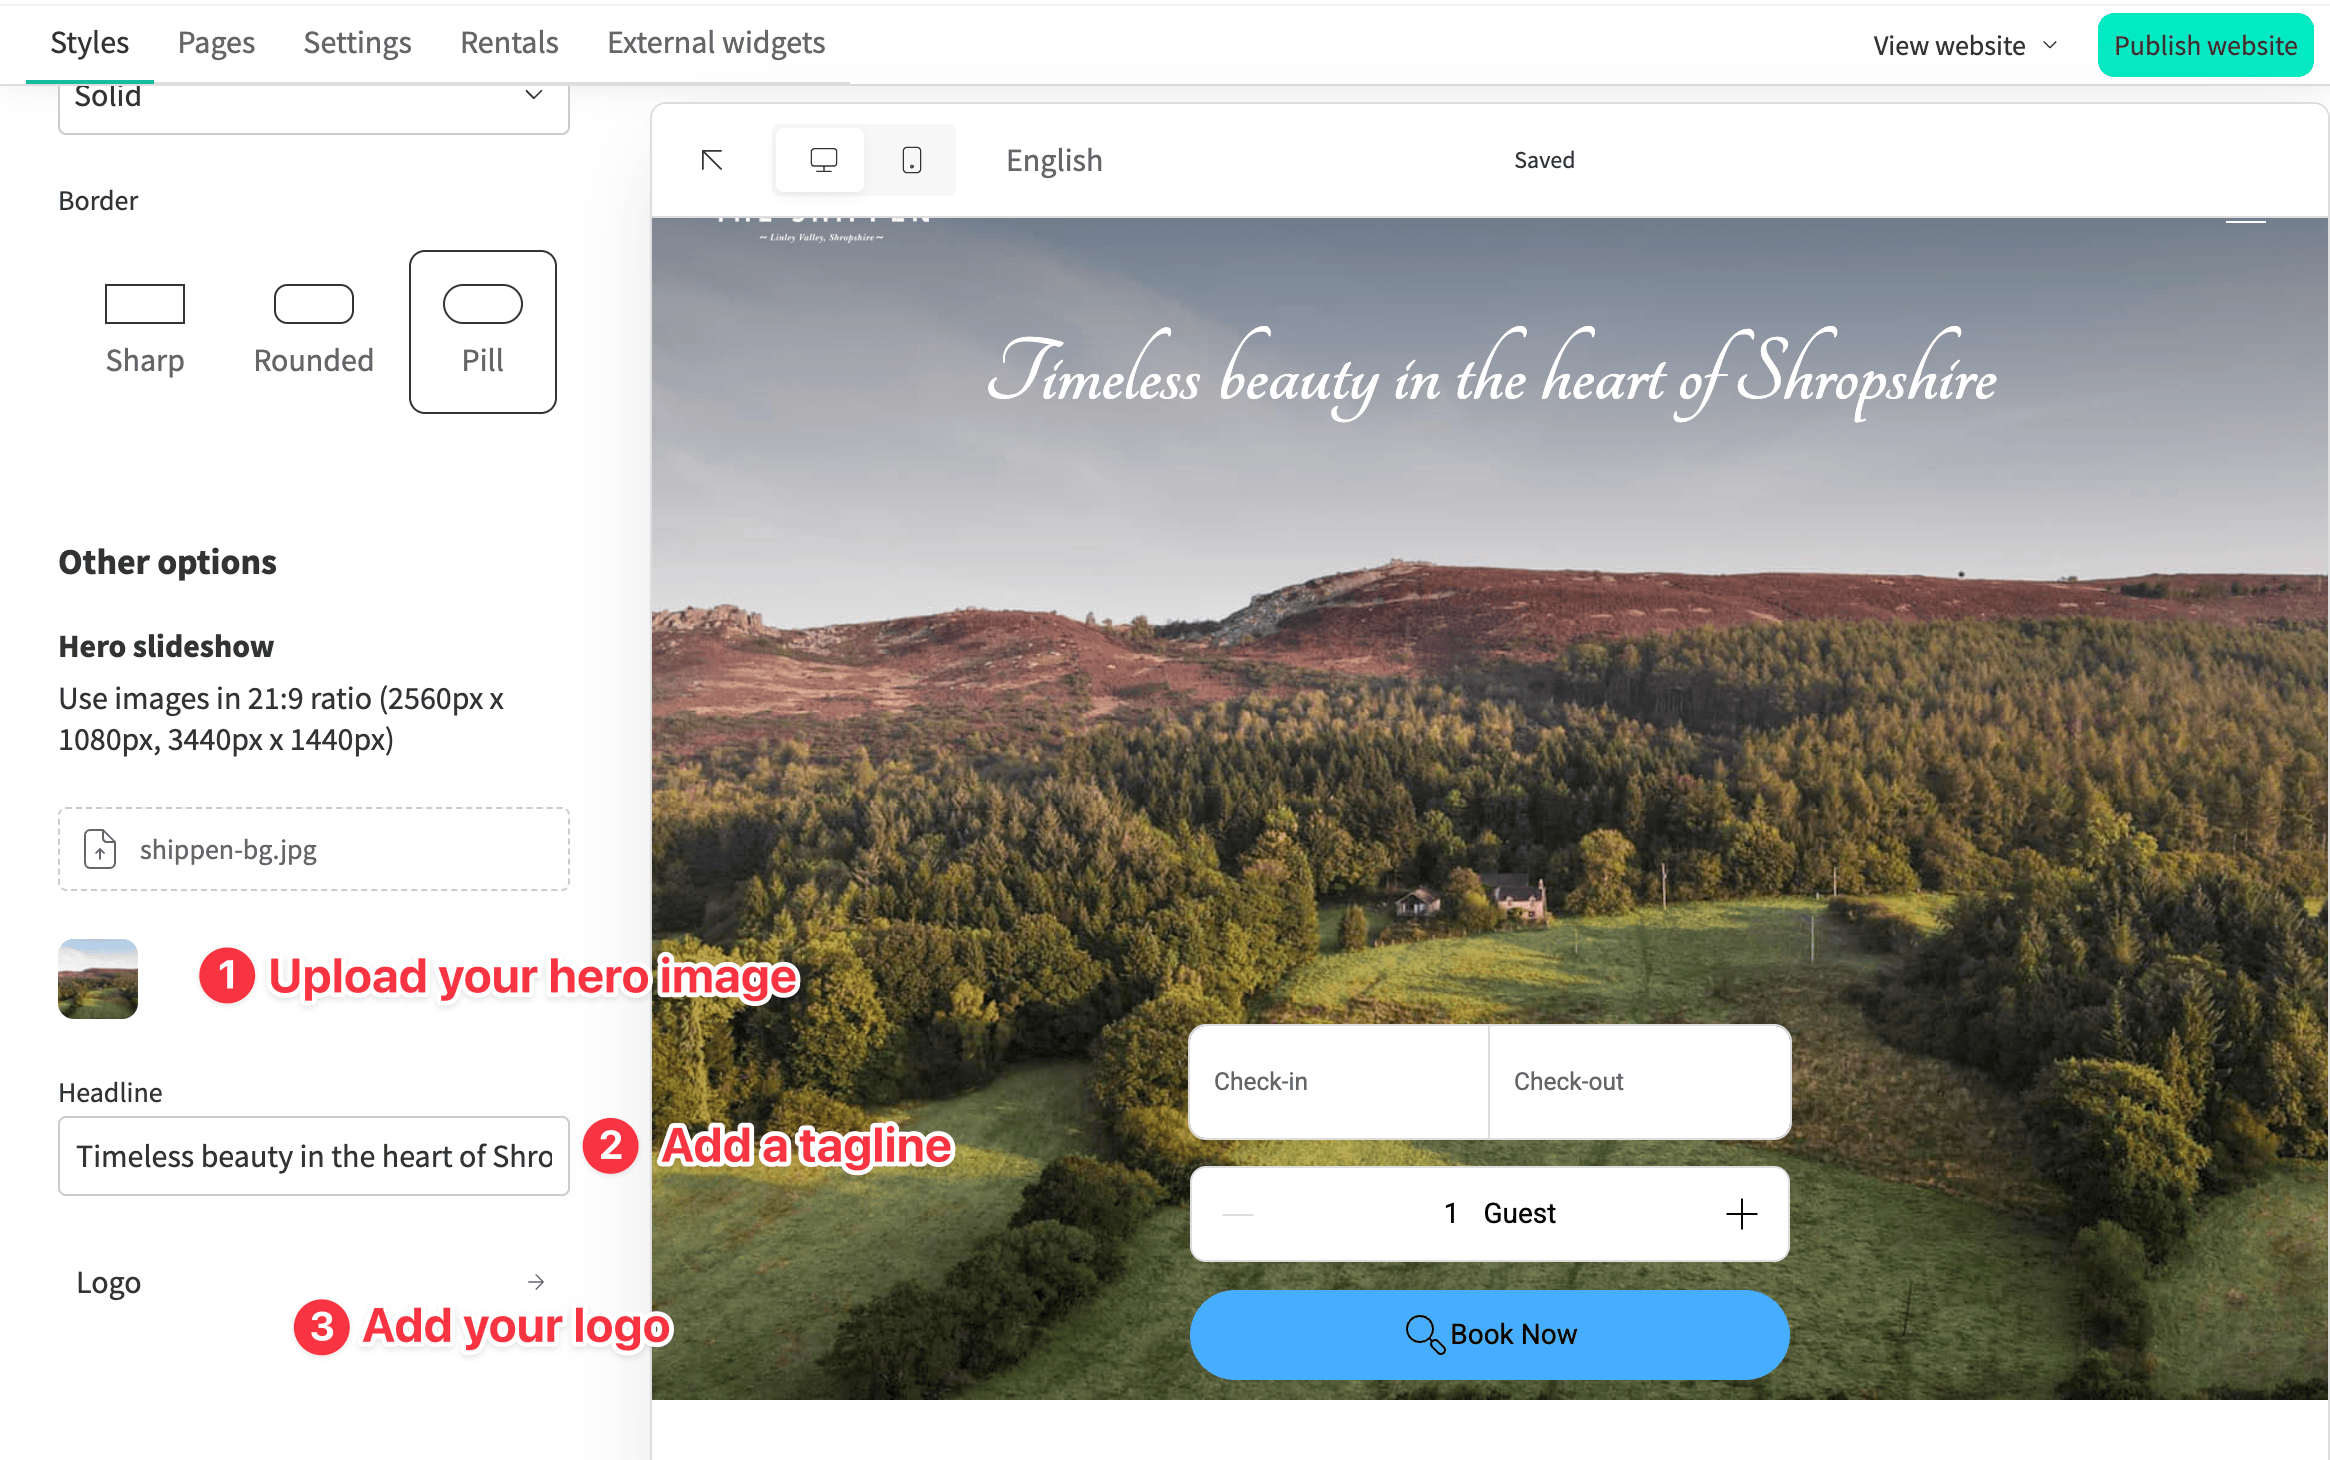
As you scroll down on the style tab, make sure you complete your branding by adding the following:
Here's the updated hero section based on our edits so far.
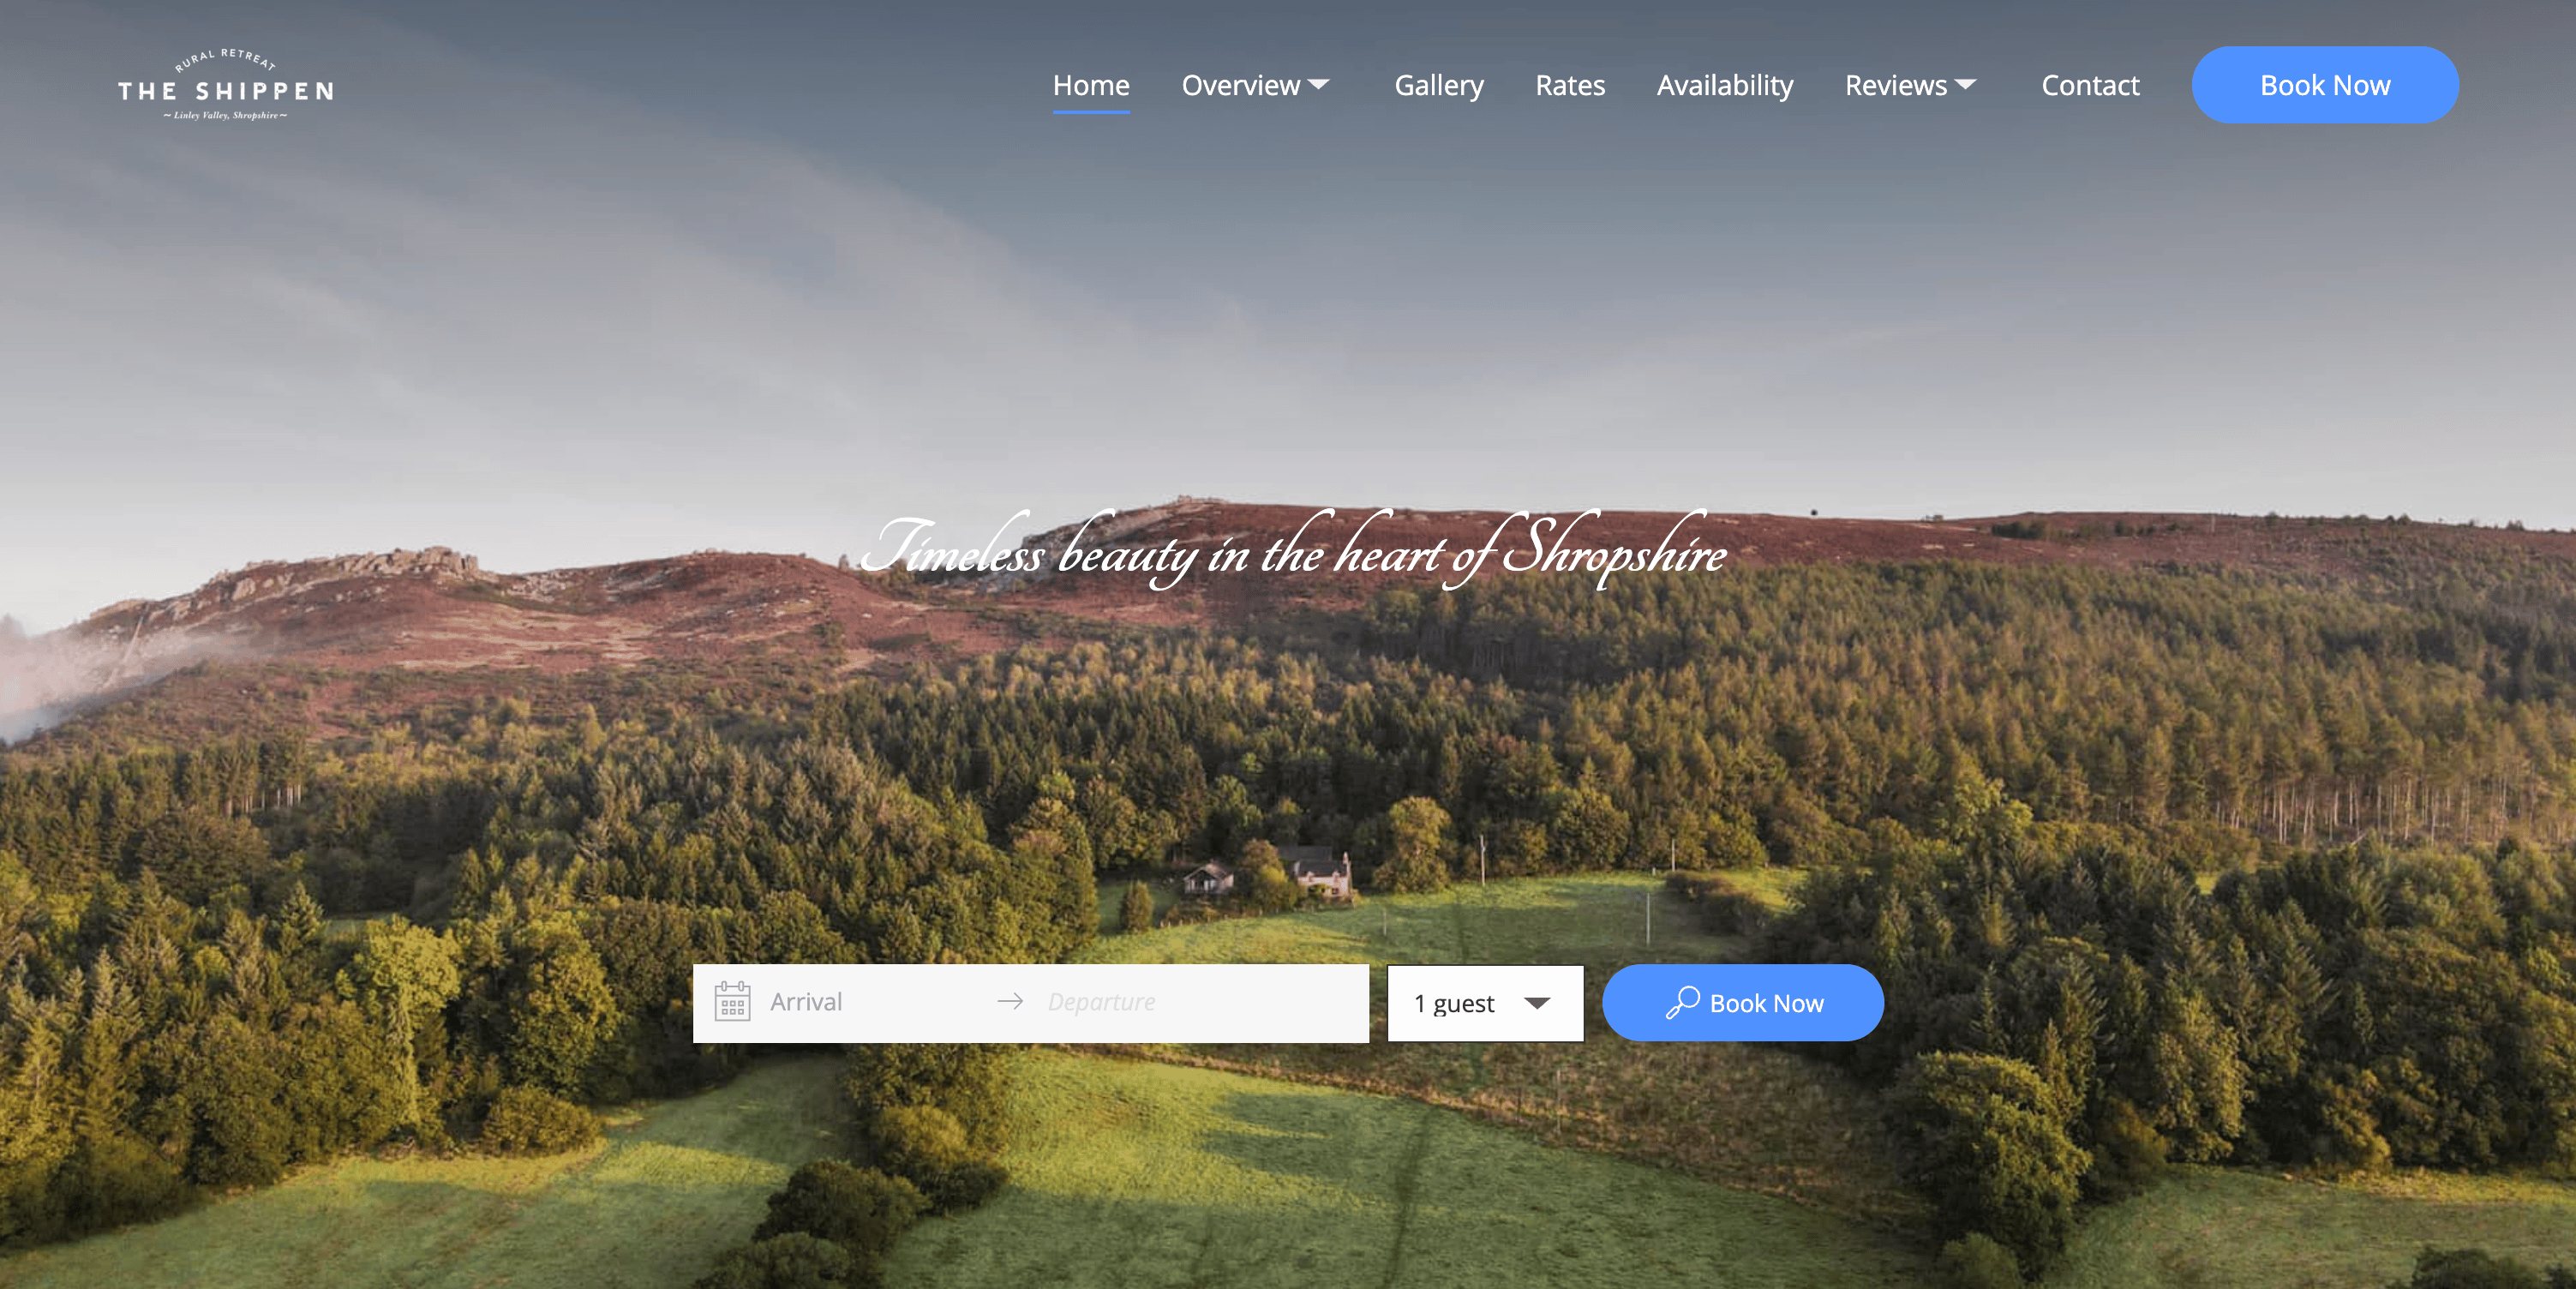
Now that we've updated our style and branding. Let's add some real content to all the pages, starting with the home page.
Head to Pages ➝ Home.
From here, you can replace existing content, images, and add new sections:
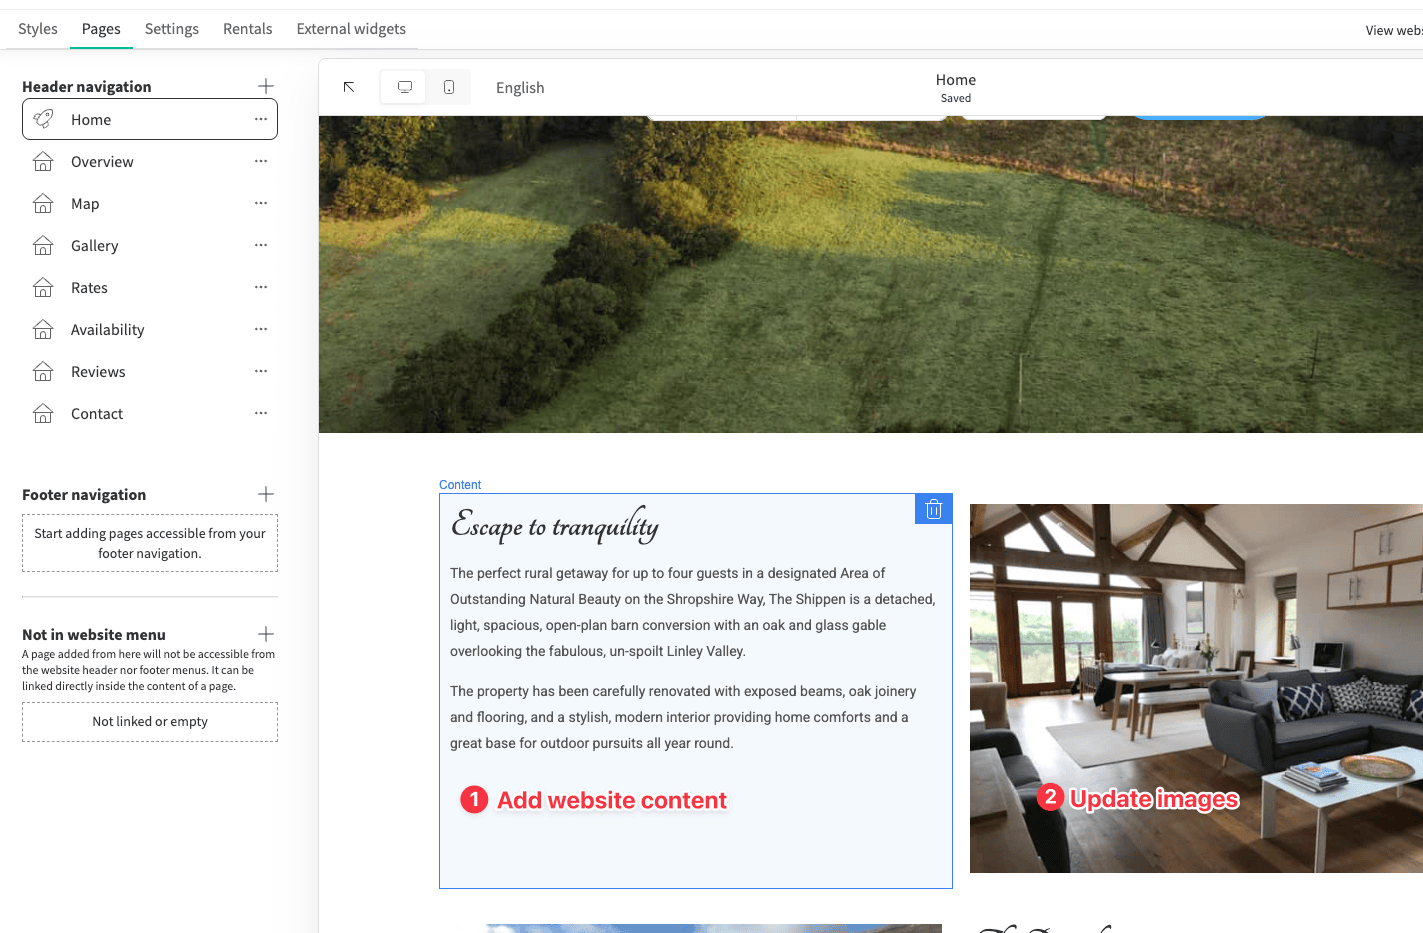
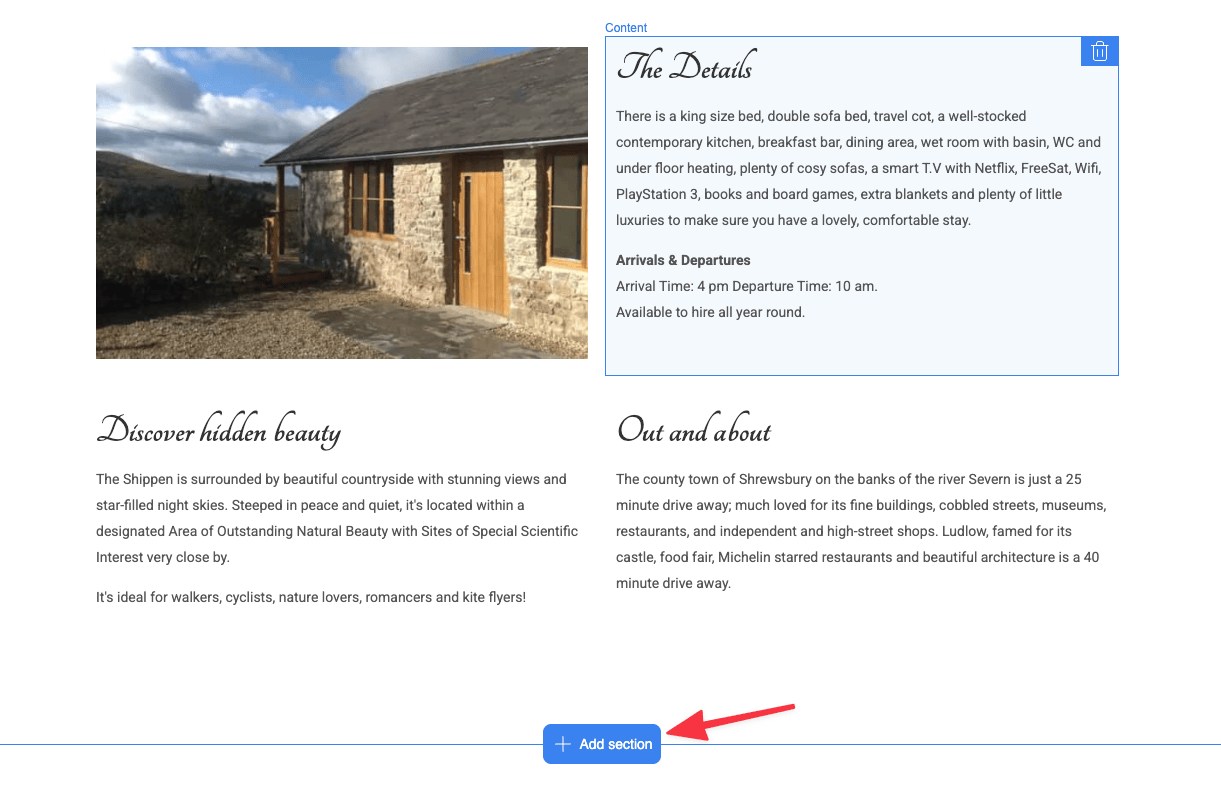
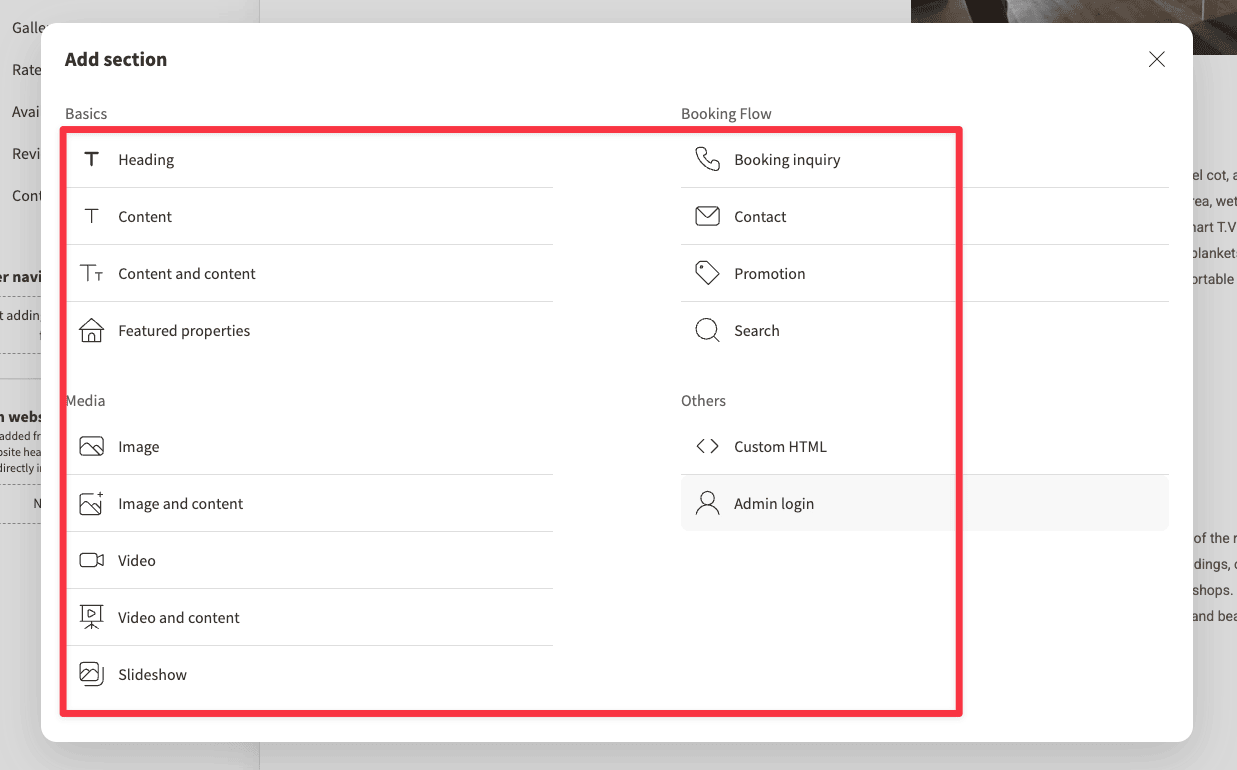
Now head over to Pages ➝ Header Navigation, you will find a list of pages Lodgify has pre-built for you: Map, Gallery, Rates, Availability, etc
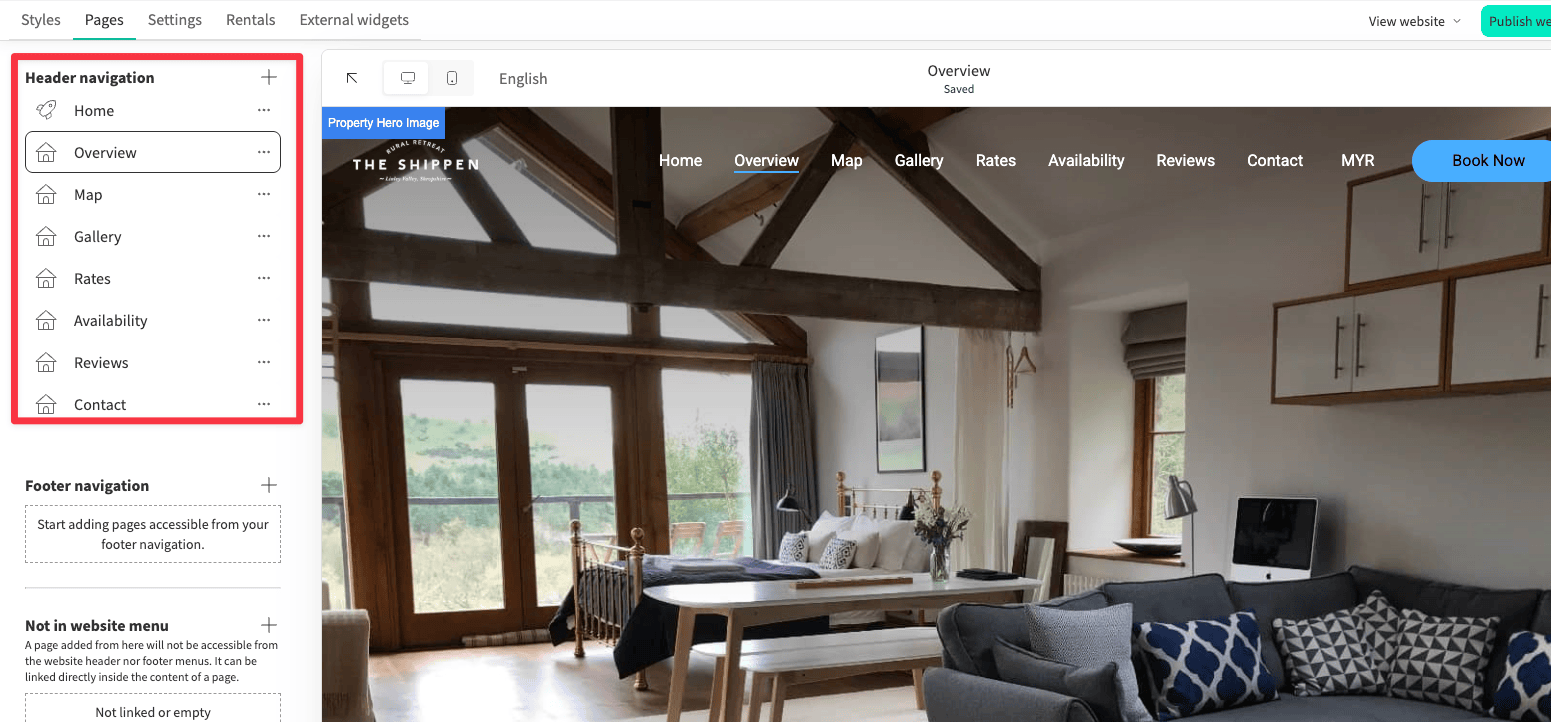
The content of these pages are populated from the information you've provided to Lodgify in the beginning of the setup.
You can click into each of these pages and update the content accordingly.
When you're done, head to Settings.
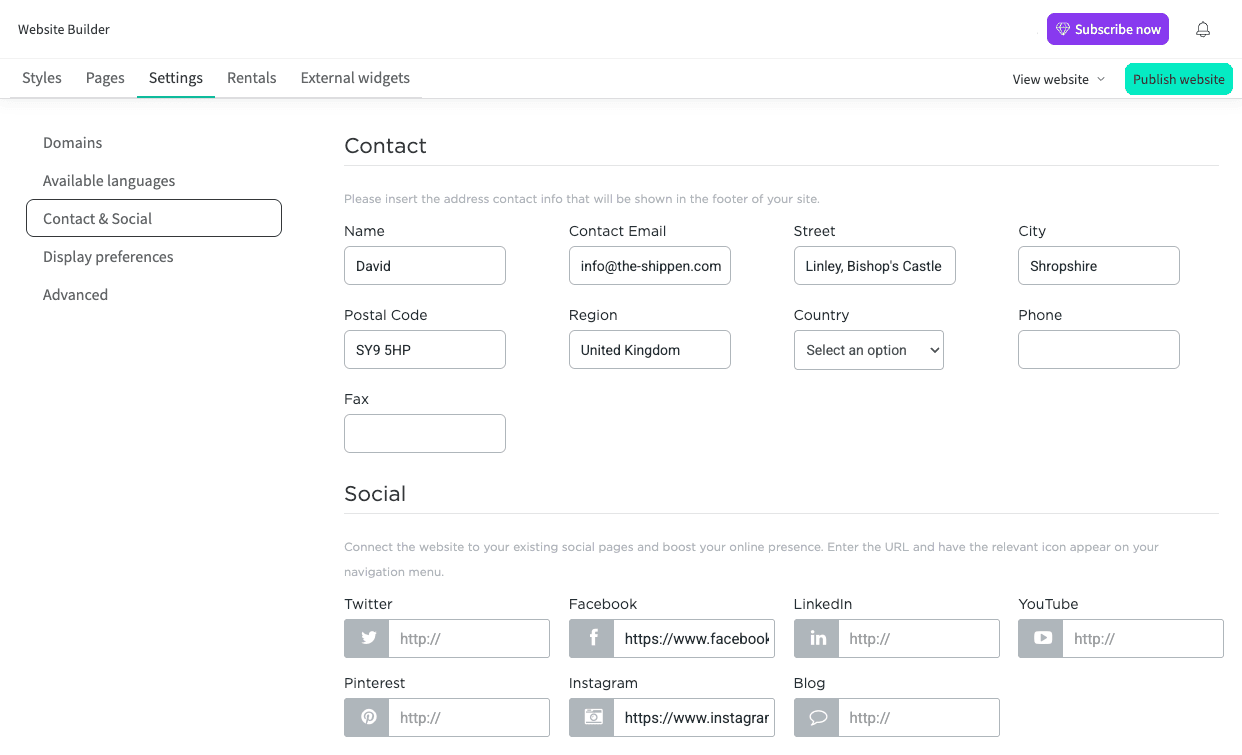
Here are some recommended (though optional) settings for you to complete :
When you’re happy, click Save (or publish your sute) and we can move on to setting up payments.
Head back to the Dashboard, and you should see the first 2 tasks of your Lodgify setup are completed.
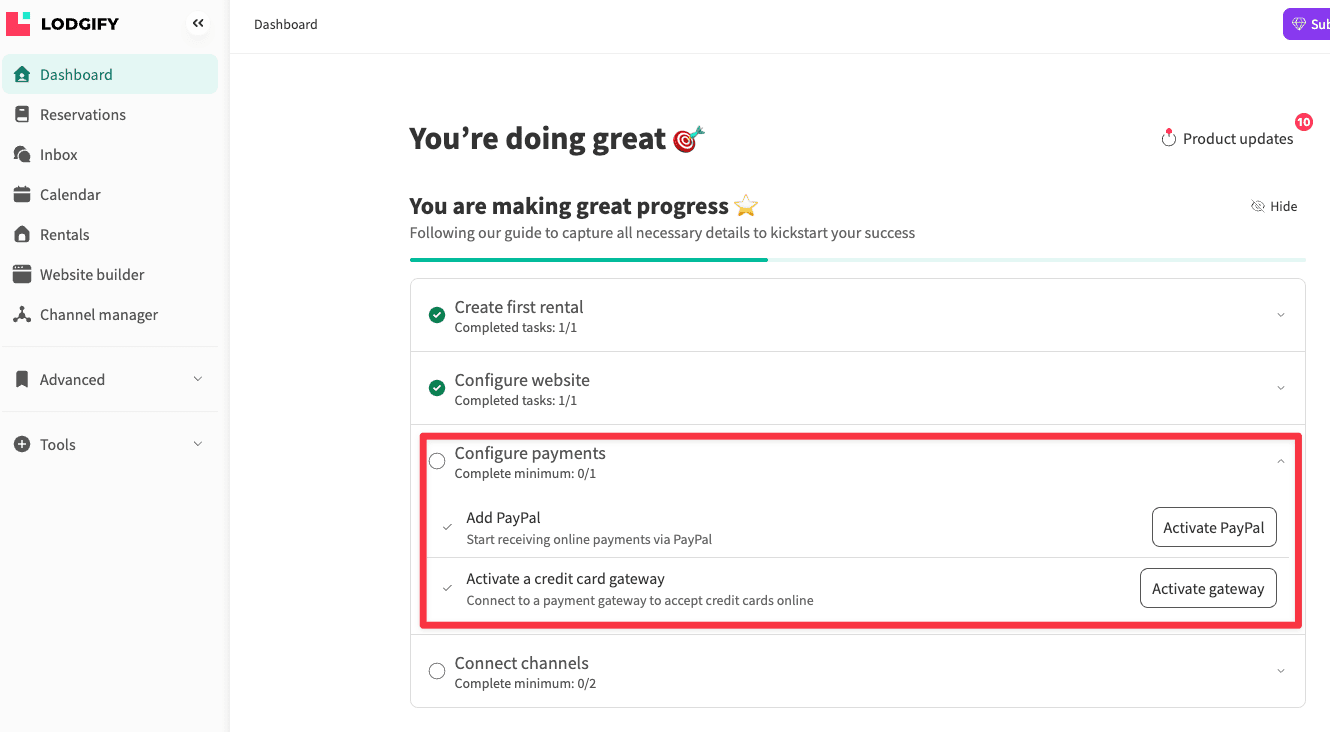
Setting up Payments is pretty straightforward. You have 2 options:
Both of which you will need an account for. Just click into either payment processor and follow the connection instructions.
Once linked, your website is ready to accept payments.
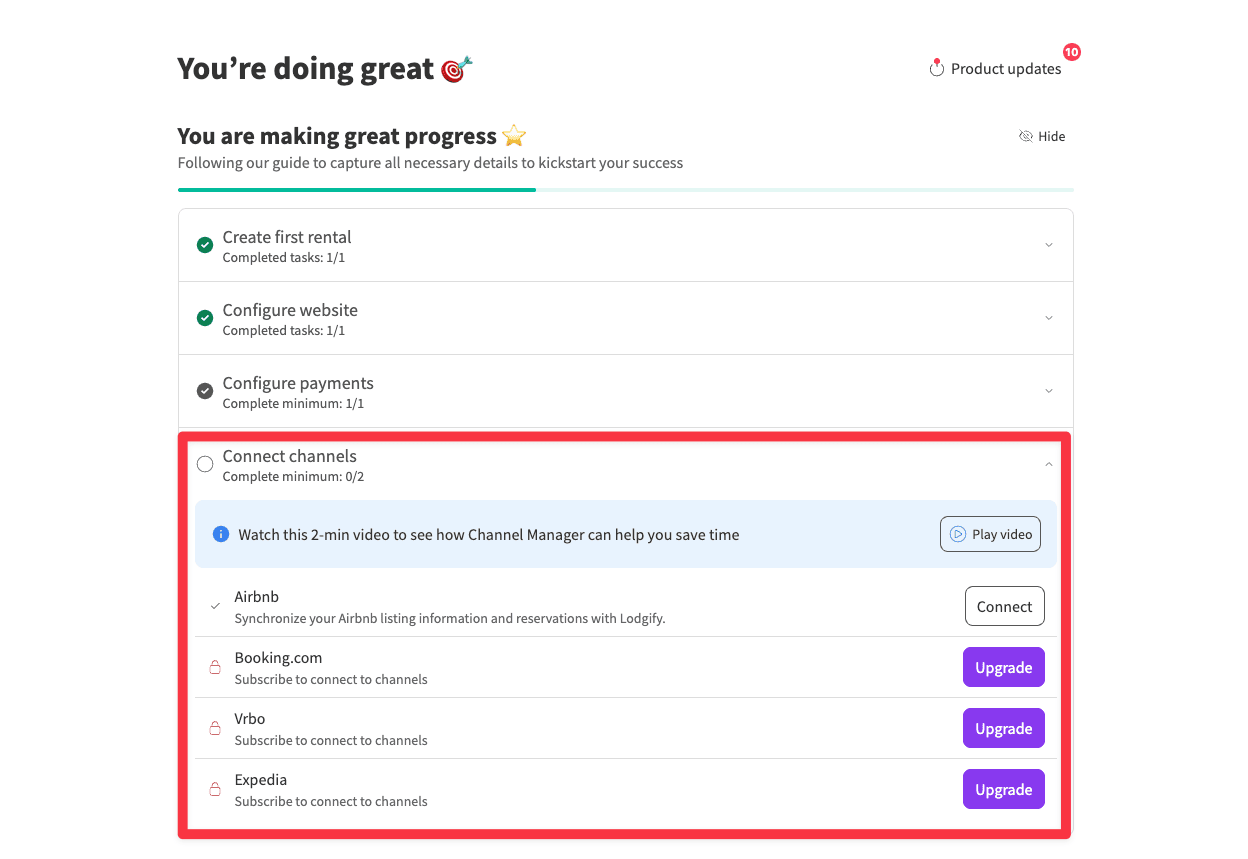
Before you continue: Using Channel manager requires a paid plan Lodgify, the Starter plan is $16/month).
Skip this step if you're not ready to upgrade.
The last step to complete your Lodgify setup is connecting your channels (Airbnb, Vrbo, Booking.com, etc.). The purpose of this is simple: to avoid double bookings and keep everything synced.
Connecting the Channels is straightforward as well. Just click into any of the channel and follow the connection instructions.
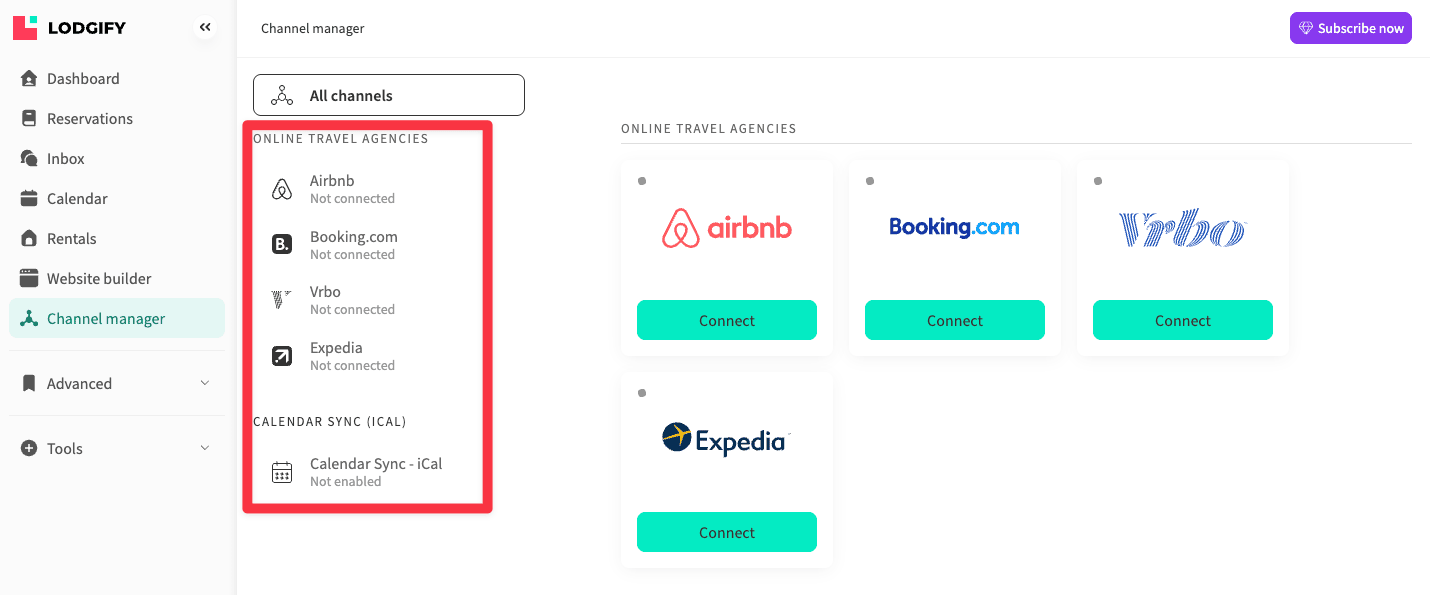
If you use dynamic pricing, make sure to sync that as well to keep everything consistent across platforms.
You can expect to spend around 10-15 hours on the whole setup. Most of the time spent should be on figuring out the property management software and connections. The actual website setup may take just a couple of hours.
The Starter plan ($16/month) charges a flat 1.9% booking fee on all bookings. This fee is includes those received from the website and API connected channels.
The booking is waived (0%) if you upgrade to the Professional ($40/month) or Ultimate plan ($59/month).
Lodgify do not offer damage protection by default. But they do integrate with Safely, which is a leading U.S provider of short-term rental protection.
This is a separate service you have to sign up for, which may incur additional cost.
Lodgify does not remit occupancy, local, or tourist taxes on behalf of property owners.
Instead, Lodgify provides the tools to set up and collect taxes from guests, but it is your responsibility to report and remit those taxes to the appropriate authorities.
Plenty of marketing tactics you can try, including but not limited to:
Run Facebook ads – Facebook ads can be highly cost-effective, allowing you to reach a large audience with a budget as low as $1 per day.